
Screenshot On Mac
Snap it, save it, share it — learn every screenshot trick for your Mac.
Simple Clicks or Pro Shortcuts
Sharp clicks, smooth captures, and high-quality shots on your Mac.
All-in-One Screenshot Modes
Capture everything — screen, window, or any region you choose.
Powerful Screenshot Editor
Customize every capture with blur, highlights, text,
and shapes.
One-Quick Share
Generate quick links or drag-and-drop Screenshots.
Multiple Types Of Screenshot
Capture the Entire Screen
Takes a screenshot of your entire screen and saves it as a file (by default, to your Desktop).
Capture a Selected Portion
Turns your cursor into a crosshair — drag to select the area you want to capture.
Capture the Touch Bar
Takes a screenshot of everything visible on your Touch Bar.
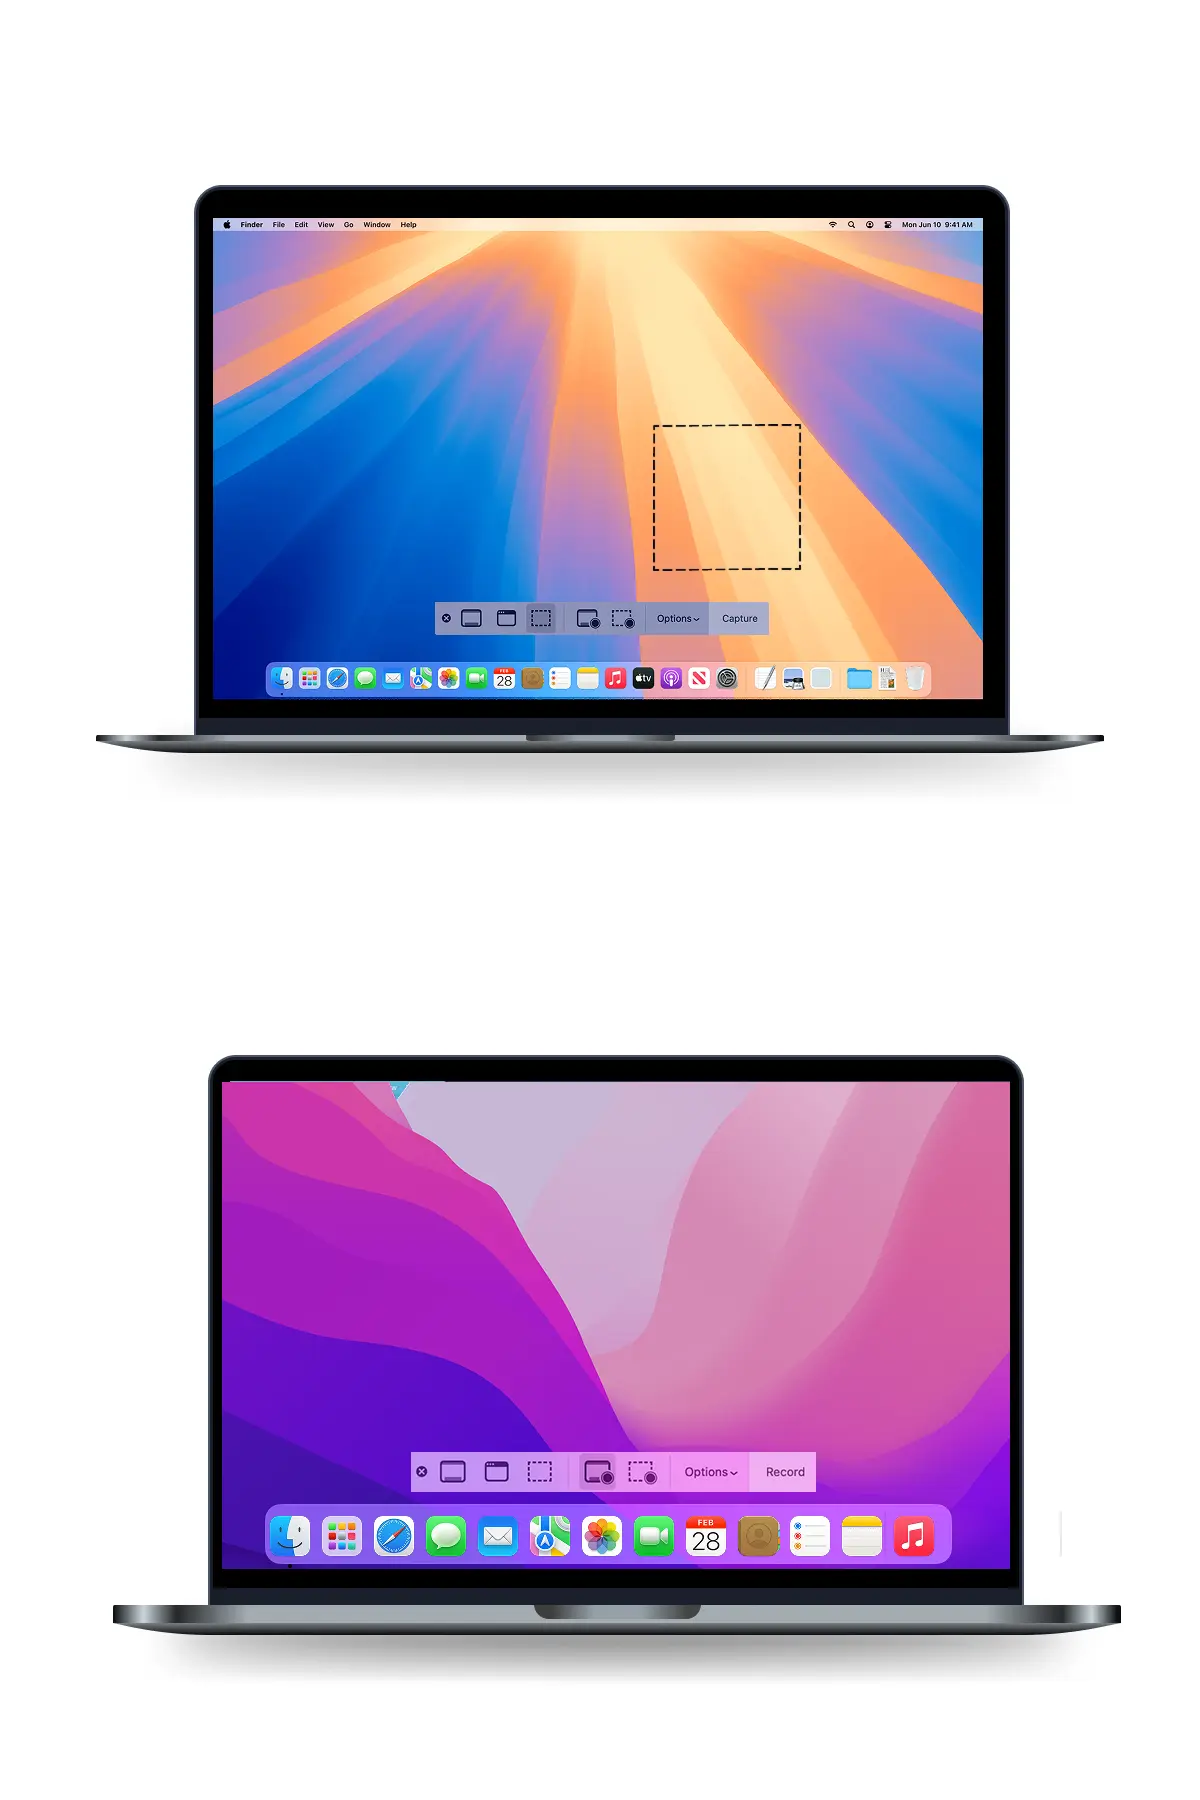
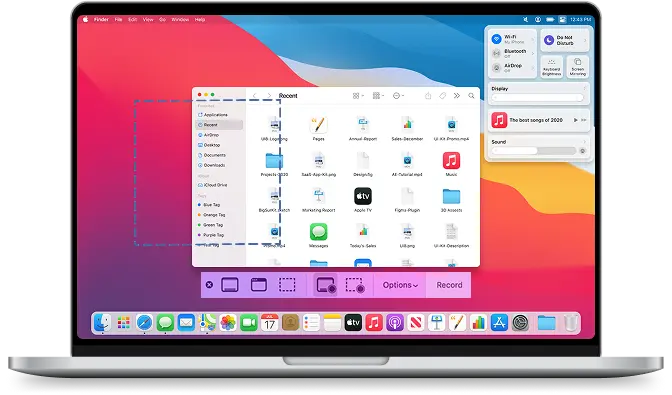
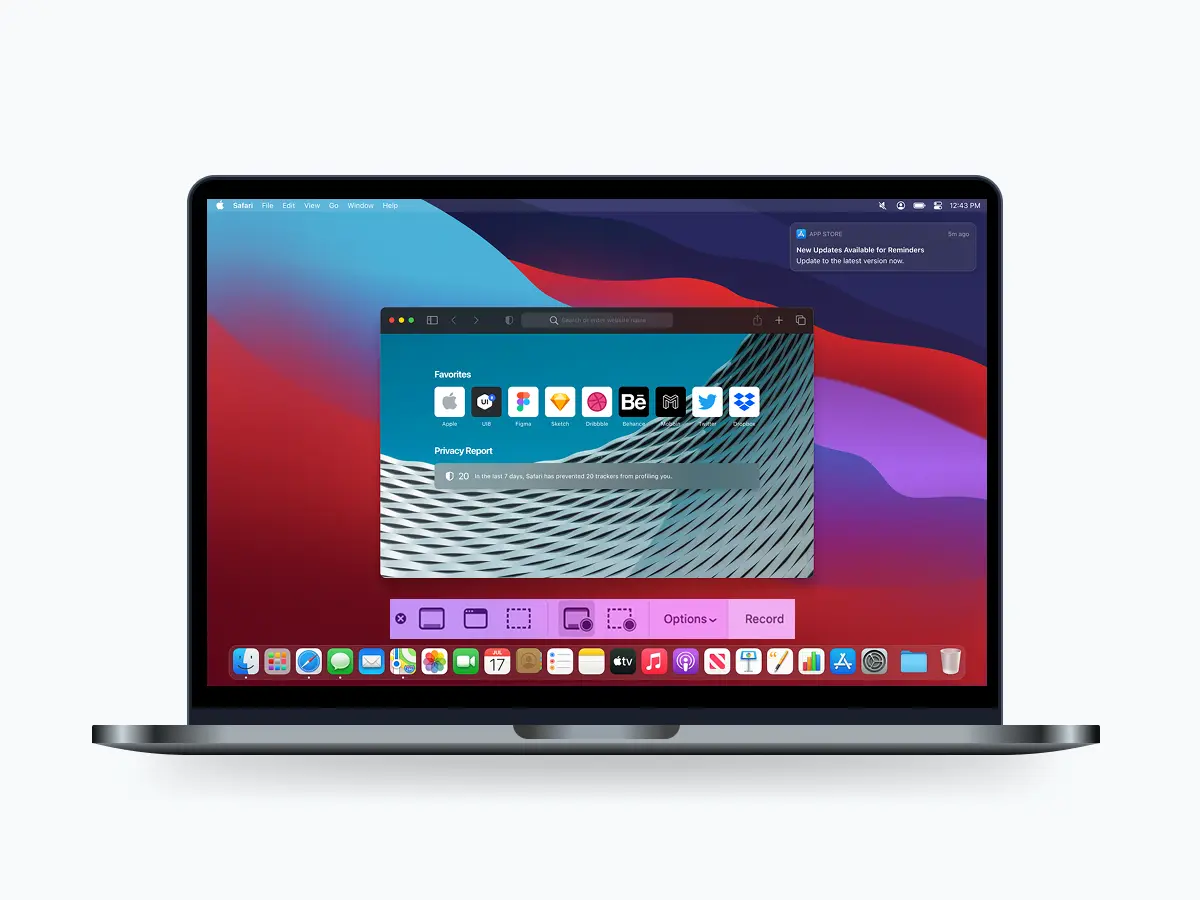
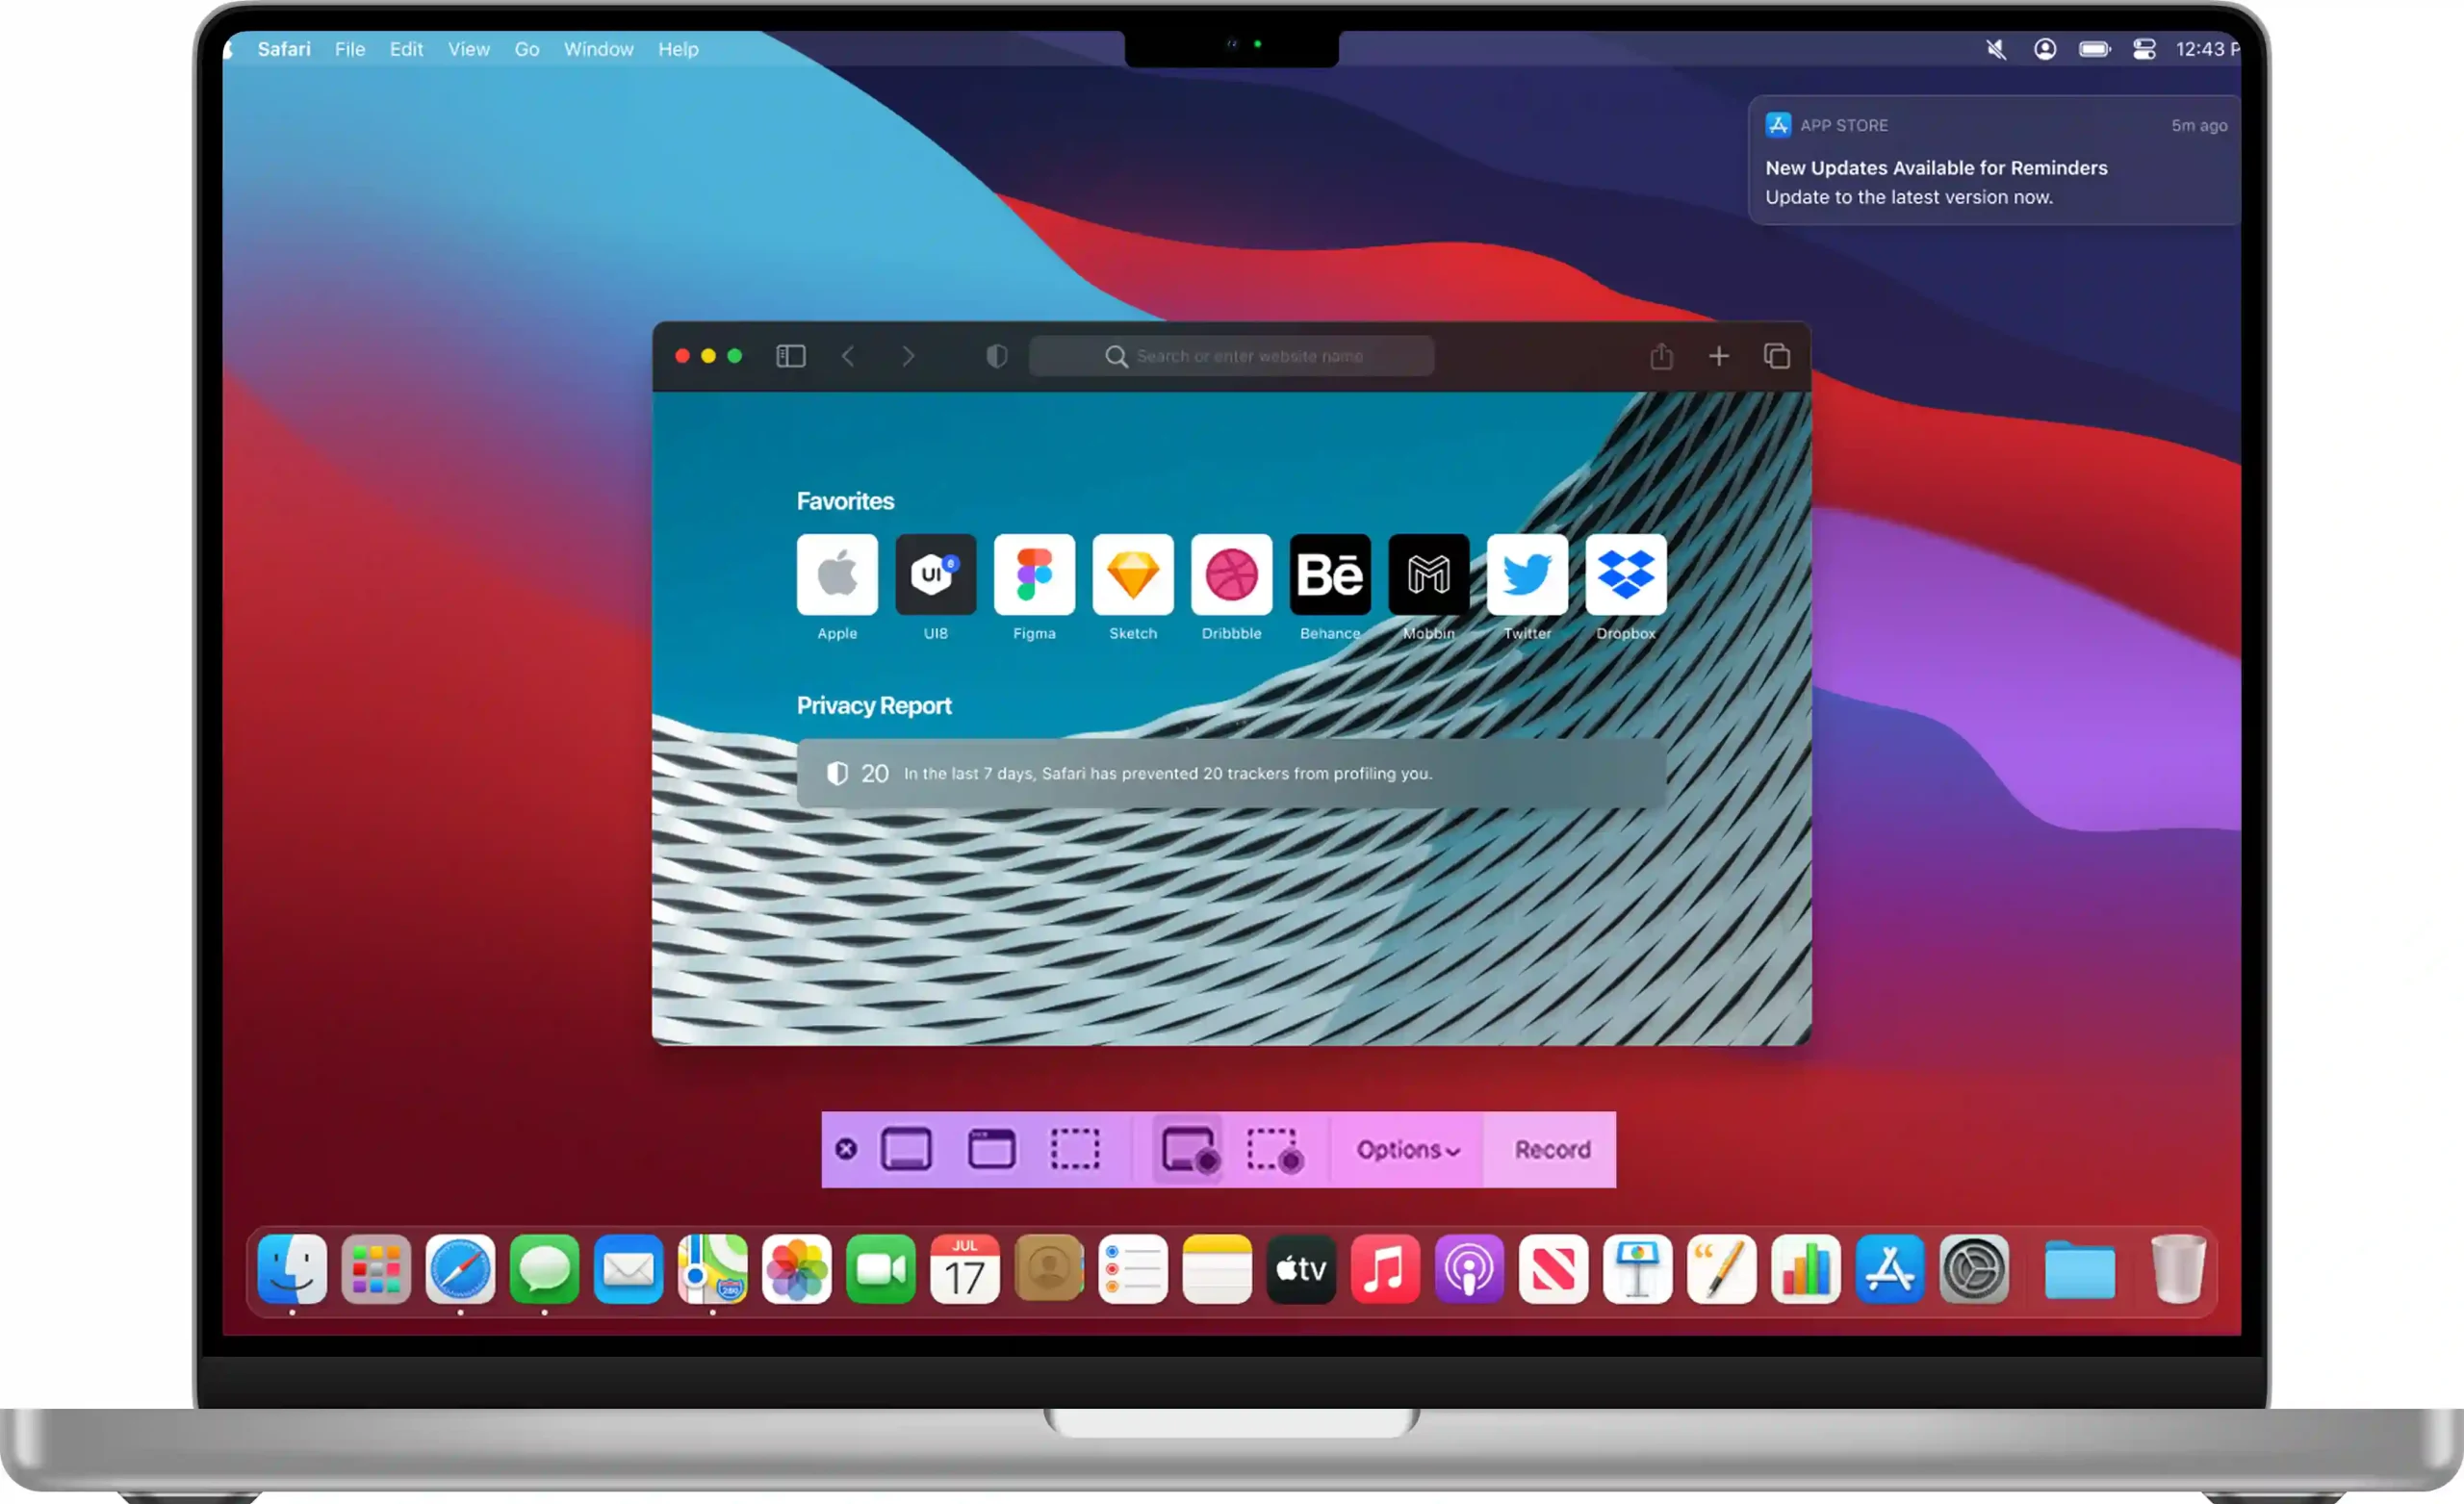
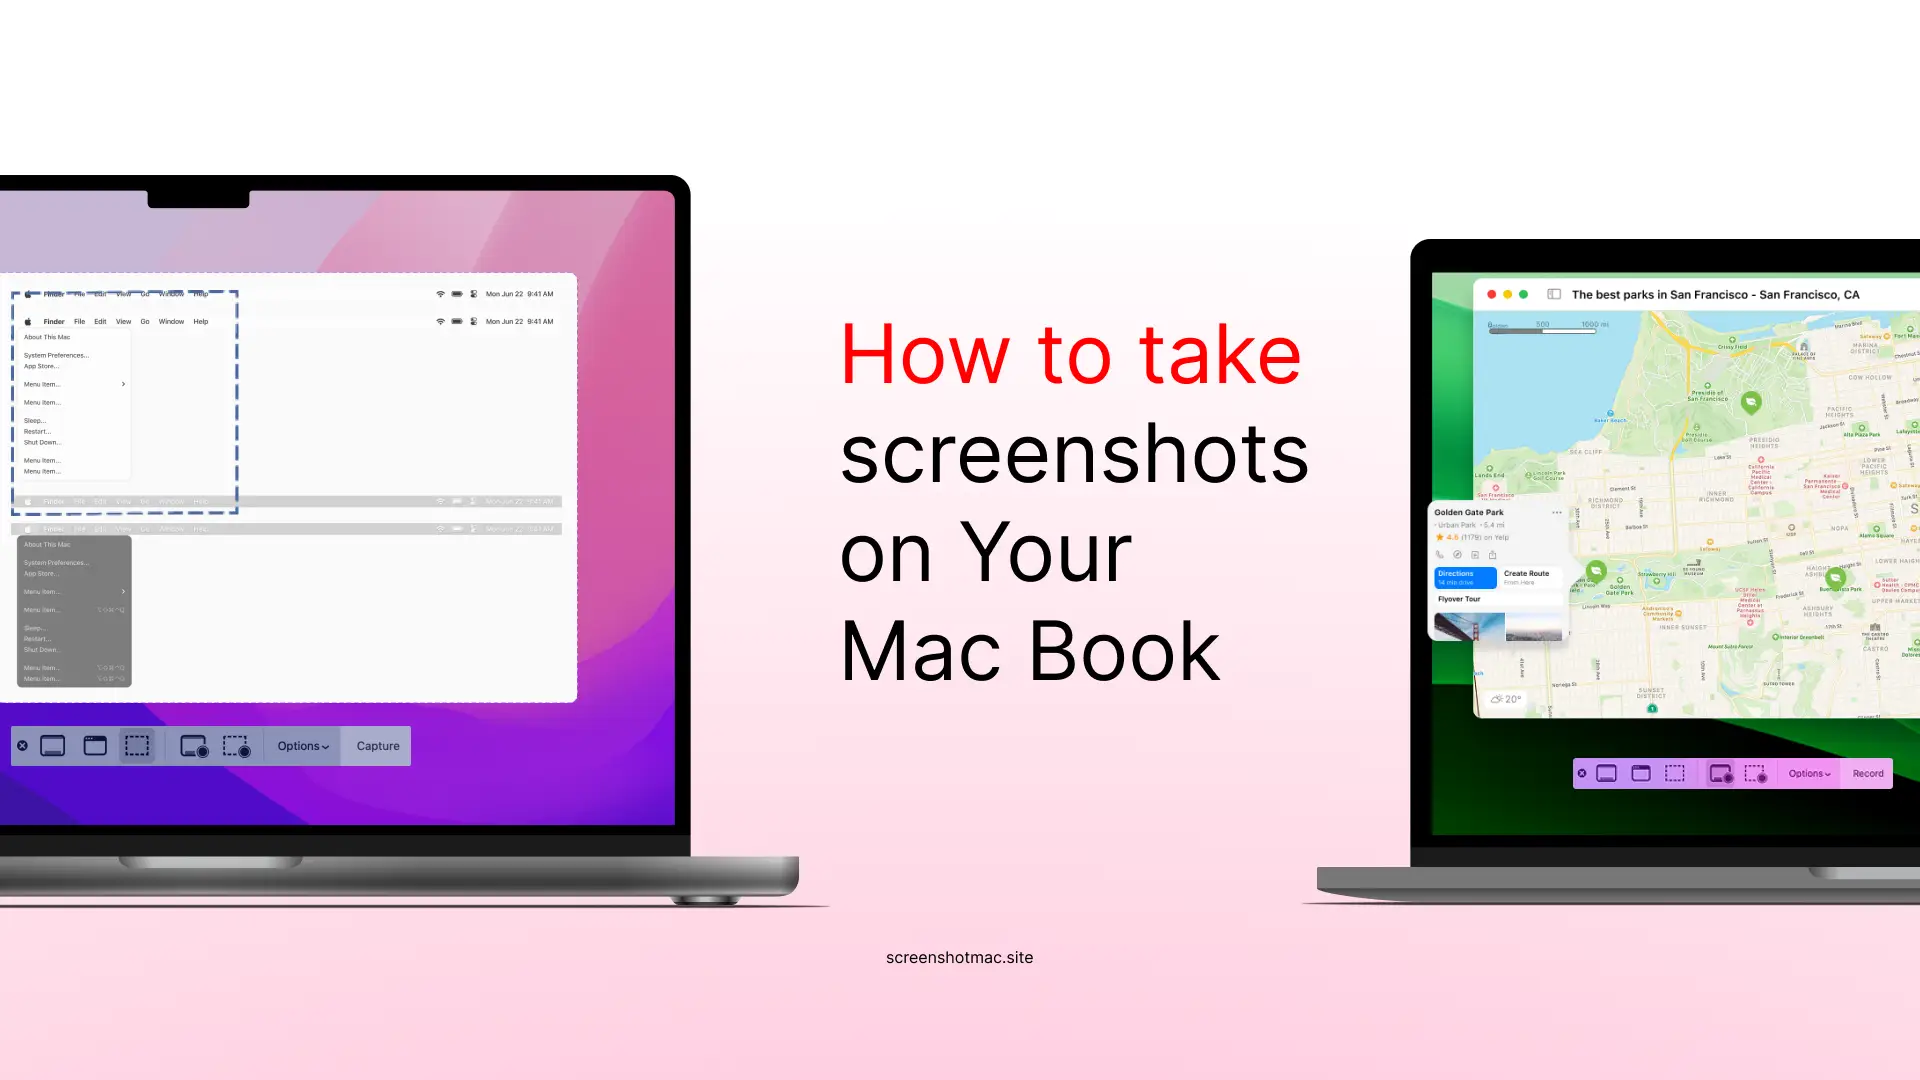
Capture the Screenshot Toolbar
Choose between capturing the entire screen, a selected window, or a selected portion.
You can also record your screen from here.
Use Preview App or Screenshot App
Open the Preview app, go to File > Take Screenshot, and choose what to capture. You can also open the Screenshot app from Launchpad or Spotlight for the same options as Command + Shift + 5.
Capture the Entire Screen (⌘ + Shift + 3)
This is the quickest and most popular way to take a screenshot on a Mac. By pressing Command (⌘) + Shift + 3, your Mac instantly captures everything visible on the screen and saves it as a high-quality image on your Desktop. It’s perfect for quickly saving your entire display, like a full webpage or presentation slide, in one click.
Capture a Selected Portion
(⌘ + Shift + 4)
This feature lets you capture only the part of the screen you need by pressing Command (⌘) + Shift + 4. Your cursor turns into a crosshair so you can drag to select the exact area to capture. When you release the mouse, the selected portion is saved to your Desktop — perfect for grabbing a specific section without cropping later.

News And Blog
Latest Articles & Blogs

Frequently Asked Questions
Discover all the ways to take screenshots on Mac. Still have questions?
How do I capture a screenshot on a Mac?
To take a full-screen screenshot on a Mac, press Command (⌘) + Shift + 3. Your Mac will instantly capture everything visible on the screen and save the image to your Desktop by default. This method is quick and perfect when you want to capture your entire display, such as a full webpage, a document, or your desktop workspace.
How to snip tool on Mac?
Mac doesn’t have a Snipping Tool like Windows, but it includes a built-in Screenshot app that works the same way. You can open it by pressing Command (⌘) + Shift + 5 or by searching for “Screenshot” in Spotlight. This tool lets you capture the entire screen, a window, or a custom area — and even record your screen. It also gives you options to save, edit, or share your screenshots instantly.
How to snip in Mac and paste?
To take a quick snip and paste it directly into another app, press Command (⌘) + Shift + Control + 4. Your cursor will turn into a crosshair; select the area you want to capture. Instead of saving to the Desktop, this shortcut copies the image to your clipboard. You can then open any app (like Notes, Mail, or Word) and press Command + V to paste the screenshot right away.
What are the three ways to take a screenshot?
The three most common ways to take a screenshot on a Mac are by using keyboard shortcuts. Press Command (⌘) + Shift + 3 to capture the entire screen, Command (⌘) + Shift + 4 to select and capture a specific area, or Command (⌘) + Shift + 5 to open the Screenshot toolbar, where you can choose what to capture or even record your screen. These methods cover almost every screenshot need, from quick captures to detailed editing and screen recording.