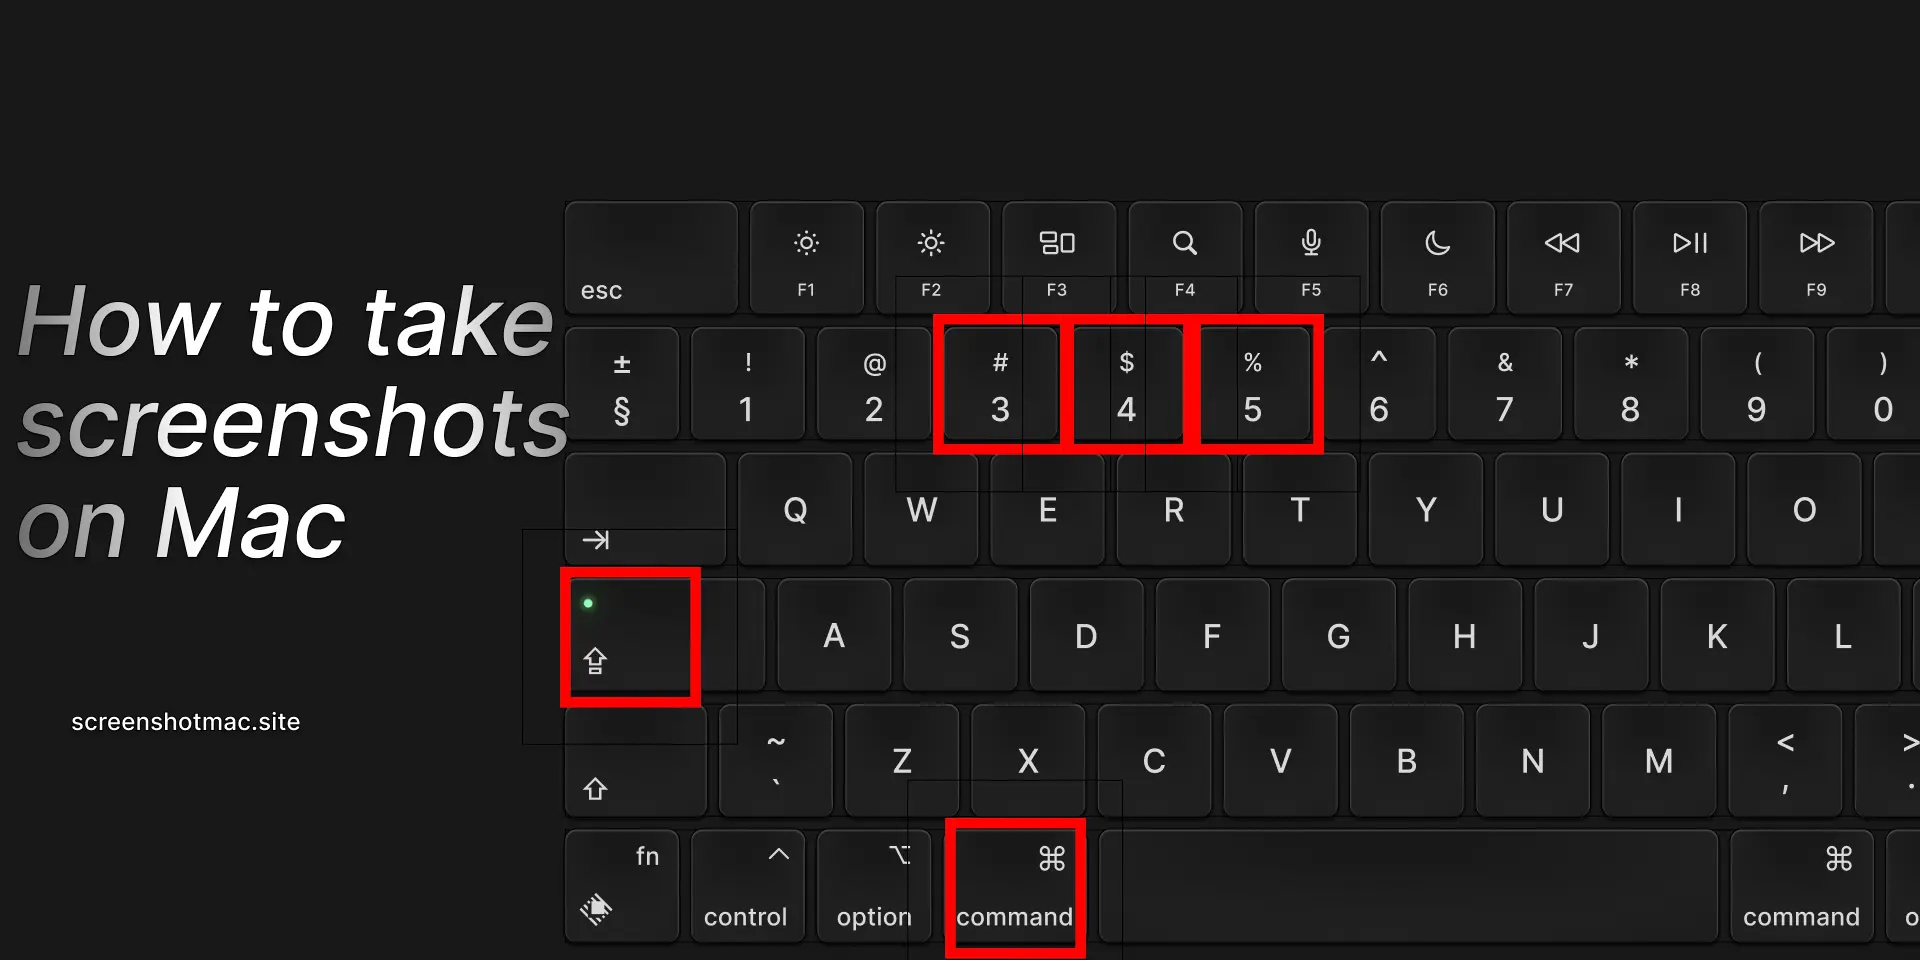
A screenshot on Mac captures what’s displayed on your screen. Press Command (⌘) + Shift + 3 to capture the entire screen, or Command (⌘) + Shift + 4 to select a specific area. Use Command (⌘) + Shift + 5 for advanced options, including screen recording and saving preferences.
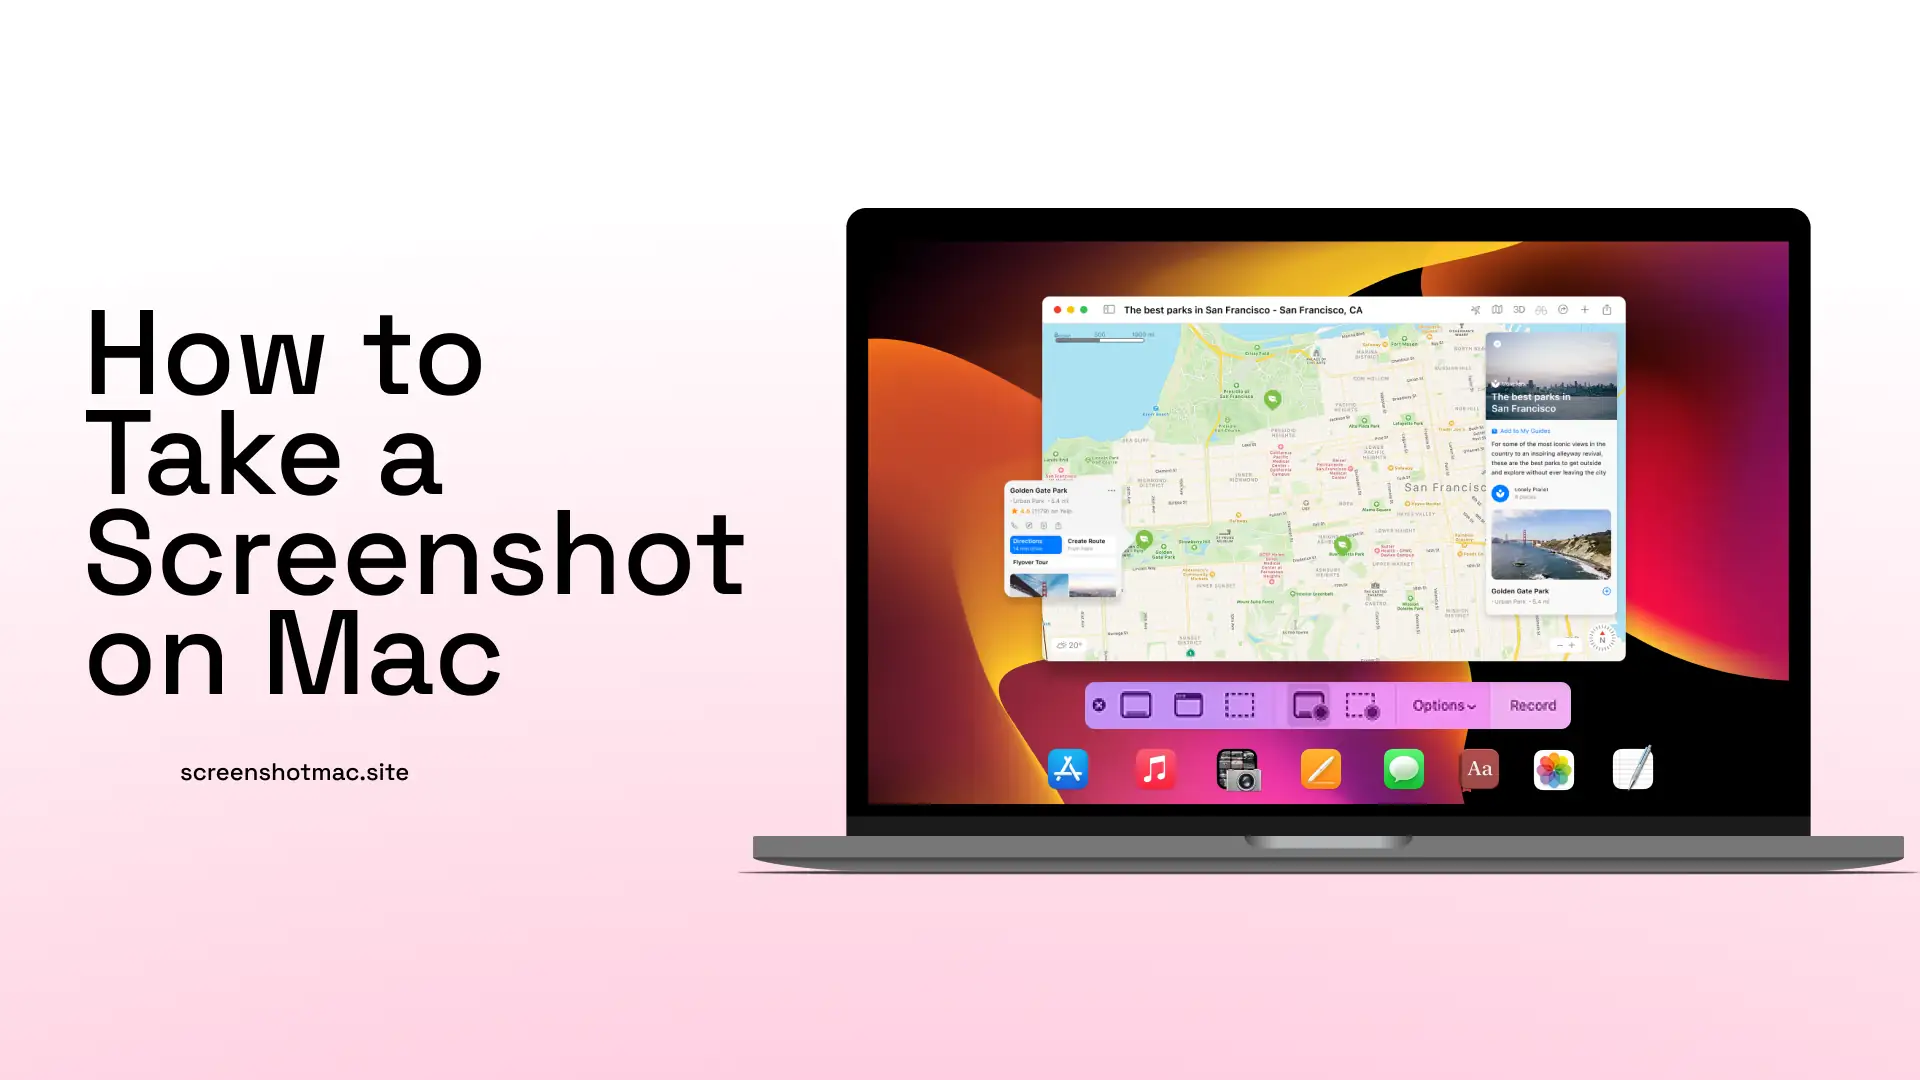
Taking a Screenshot on Mac is an essential skill for students, professionals, and content creators. It’s also useful for anyone who wants to save or share what they see on their computer screen. You can capture the entire desktop, a specific window, or only part of the screen. macOS offers keyboard shortcuts, abbreviations, and the built-in app to make everything simple and fast.
In this guide, you will discover the main ways to take a Screenshot on Mac, how to edit captured images, and where screenshots are saved. I will also explain how to manage screen recording in a few steps. You will also learn how to use the timer to capture images precisely and how to take screenshots through the Screenshot app, making the best use of its options.
Why screenshots on Mac are important
Screen captures on macOS are useful in many situations. At work and in study, for example, they can help you save images of presentations or documents directly on your computer desktop. During a meeting or a lesson, capturing what you see on the monitor allows you to immediately store information without having to transcribe it manually.
In everyday communication, on the other hand, sharing a screen image with colleagues, friends, or Apple support is a practical way to explain an error or clarify a problem. Even in the world of social media, capturing visual content to share online has now become a common and immediate practice.
Those who create tutorials or step-by-step guides cannot do without screen captures and recordings: showing what happens on the desktop is essential to illustrate the use of an application or the configuration of new options. In addition, thanks to macOS Mojave and later versions, captured images are saved in a customizable folder and can be managed with great precision.
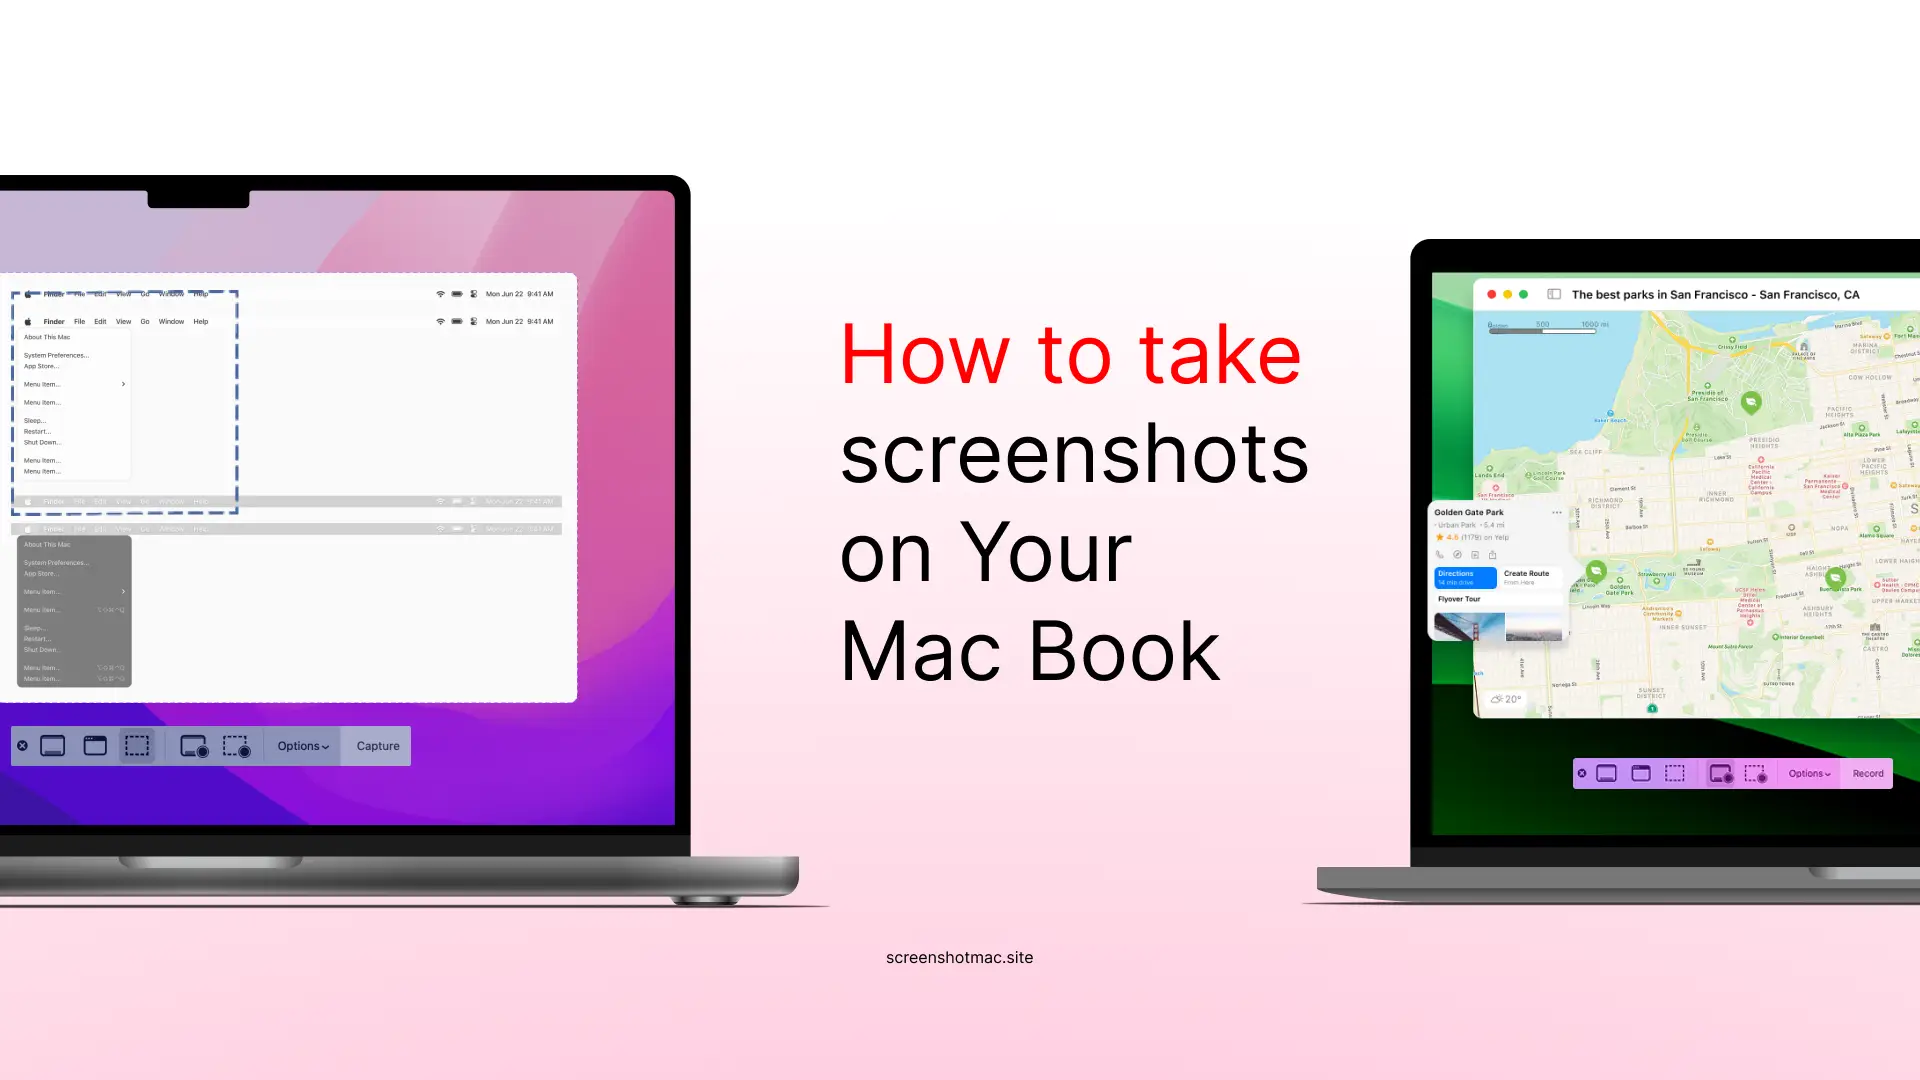
5 Main ways to take screenshots on Mac (Shortcuts, Toolbar, and Touch Bar)

1. How to capture the entire screen on Mac
The quickest way to take a screenshot of the entire screen is to use the key combination Shift + Command (⌘) + 3. When you press the correct keys, your Mac saves the screenshot in PNG format directly on the desktop. After capturing, you’ll see a thumbnail in the lower-right corner—click it to open or edit the image. This method works best for capturing the entire screen, including menus, icons, and windows, without missing any details.
2. How to take a screenshot of part of the screen on Mac
To capture only part of the screen, the combination is Shift + Command (⌘) + 4. The mouse pointer turns into a crosshair that lets you select the area to capture. Once released, the screenshot is saved.
You can also take screenshots to the clipboard instead of saving them simply by holding down the Control key. This allows you to paste the image directly into a document or app.
3. How to take a screenshot of a window on Mac
To capture a specific window, press the spacebar right after pressing Shift + Command (⌘) + 4. The cursor becomes a camera icon, and by clicking on the desired window, the screenshot is immediately saved.
In this case, Mac screenshots isolate only the selected window, without additional background elements.
4. How to take a screenshot with the toolbar on Mac
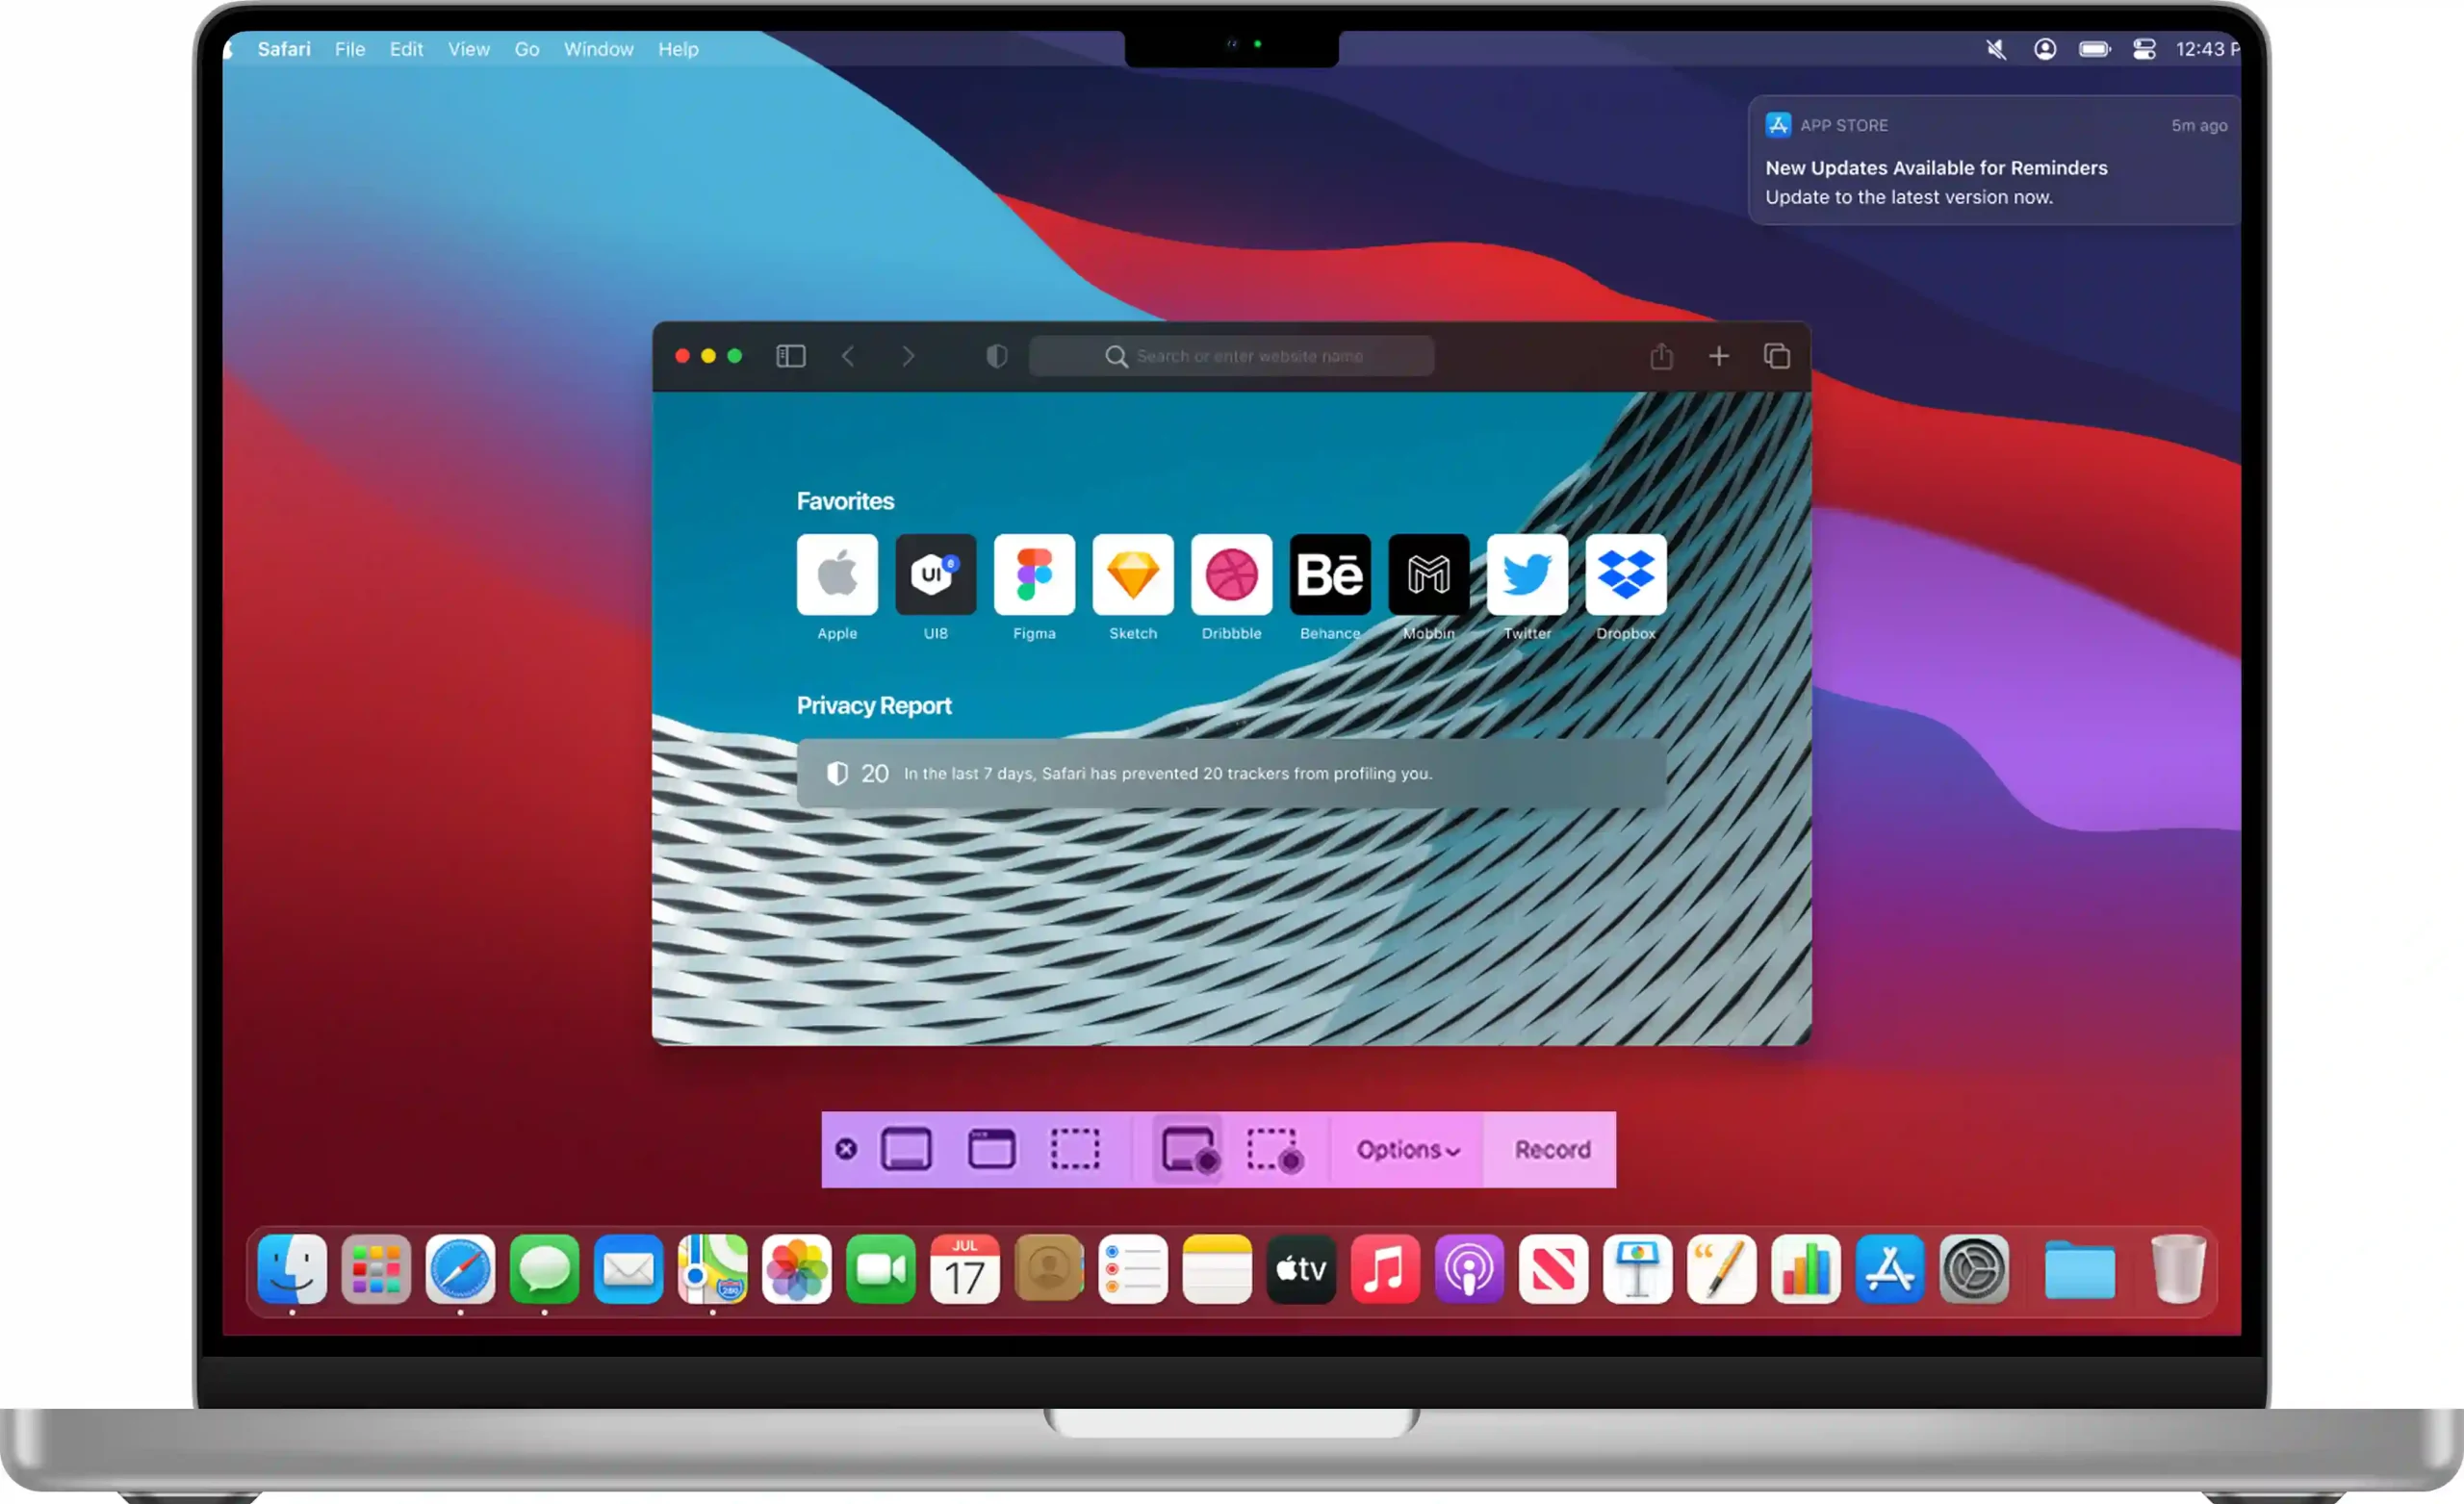
With macOS Mojave and later versions, Apple introduced a built-in screenshot feature accessible by pressing Shift + Command (⌘) + 5. This brings up a toolbar that offers various options: capture the entire screen, a portion of the screen, a window, or start a screenshot or recording.
Through the Screenshot app, you can also set a timer, change the screenshot save location, or decide whether the image should be saved to a folder or copied to the clipboard. This tool simplifies management and offers screenshots with a higher level of control.
5. How to take a screenshot of the Touch Bar on MacBook
Those who own a MacBook Pro with a Touch Bar can take a Mac screenshot of what appears on the bar using Shift + Command (⌘) + 6. In this case, the screenshots are automatically saved to the desktop, ready to be shared.
It may seem like a secondary function, but it actually allows you to take very useful screenshots to show quick functions or customized settings.
Where screenshots are saved on Mac
On a Mac, screenshots normally save to the desktop by default. However, the Screenshot app lets you choose where to store them—whether in a specific folder or copied to the clipboard. This feature helps you keep your desktop organized and manage your screenshots more efficiently.
How to crop and edit screenshots
Once you’ve captured your Mac screen, you can edit your Mac Screenshots with various tools. The Preview app offers cropping and annotation features, while with some apps like Photos, you can adjust colors and sizes. Also, by clicking on the thumbnail that appears in the lower-right corner, you can immediately use quick tools to optimize your Mac Screenshots.
Those who want advanced features can try some third-party apps like CleanShot X or Snagit, which allow you to manage and edit your Mac Screenshots easily with complete and professional editing tools.
Comparison between shortcuts and methods for screenshots on Mac
Each screenshot offers different advantages depending on the chosen method. Keyboard shortcuts are immediate and ideal when you want to take screenshots quickly. The toolbar introduced with Mojave, on the other hand, allows you to take screenshots on Mac with more control, even enabling screen recording.Finally, Apple designed the Touch Bar function for specific MacBook users, and it remains a valuable option.
Advanced tips for screenshots on Mac
There are various ways to take more effective screenshots. You can edit screenshots with annotations and text to communicate better or hide desktop icons for a cleaner capture. Some apps allow you to take scrolling screenshots, perfect for very long websites. You can also change the format from PNG to JPG to make files lighter.
Best third-party apps for screenshots on Mac
Frequently asked questions about Screenshot Mac
Is it possible to take a Mac Screenshot quickly?
To capture a screenshot on Mac, you can use simple keyboard shortcuts. If you press Shift + Command (⌘) + 3, you’ll capture the entire screen in a single image. If instead you use Shift + Command (⌘) + 4, you can manually select the part of the screen you want to capture by dragging the cursor to define the area. These shortcuts allow you to quickly save screen images without having to open additional applications.
Can you take a Mac screenshot without a keyboard?
In this case, it’s enough to use the Screenshot app available on macOS. This application allows you to capture the screen easily and immediately, without having to remember key combinations. You can open it by searching “Screenshot” in Finder or in the Applications folder, then choose whether to capture the entire screen, a specific window, or a selected portion.
How to enable screen recording?
This is possible thanks to the key combination Shift + Command (⌘) + 5, which opens the screenshot toolbar on macOS. From here, you can choose whether to capture the entire screen or a specific window. Alternatively, you can select a precise part of the screen. It’s also possible to record screen videos very easily. Finally, you can manage save options quickly and conveniently.
How to set a timer for screenshots?
It’s enough to use the built-in feature in the macOS toolbar. This option allows you to quickly access all screen capture modes, including video recording, without needing external applications or keyboard shortcuts.

Leave a Reply