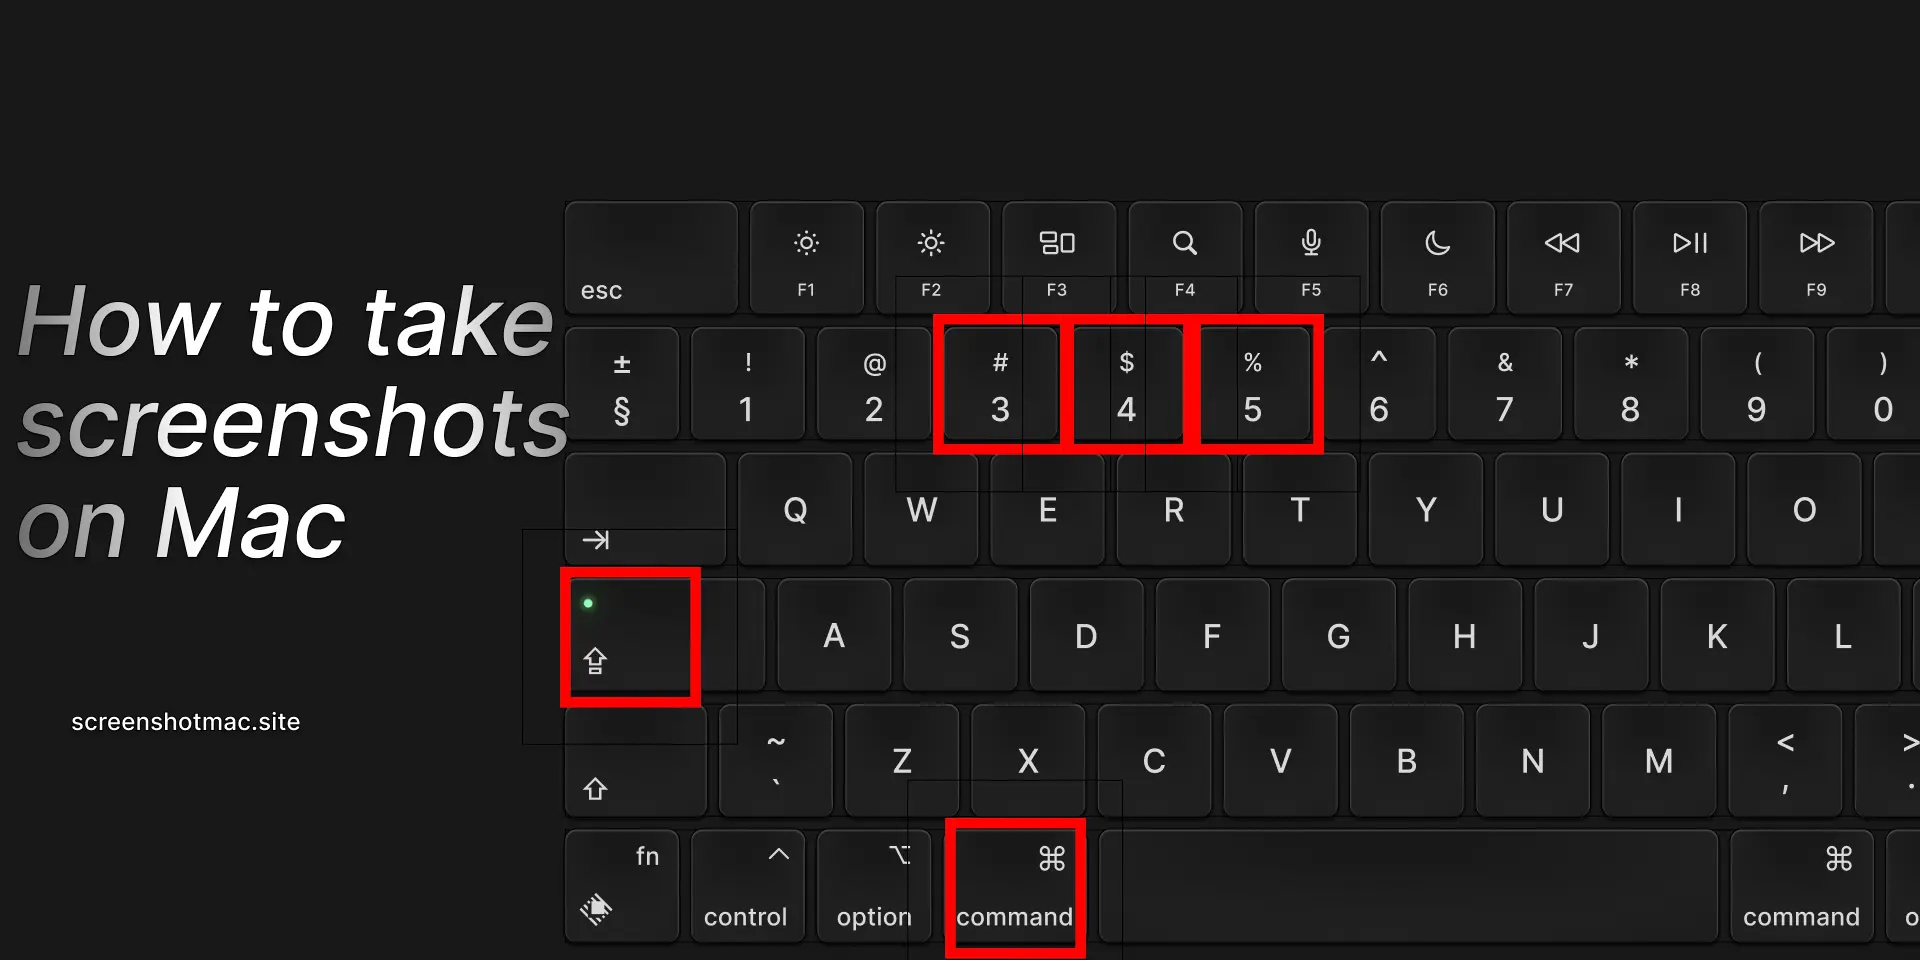
To take a screenshots on a MacBook Pro, press ⌘ + Shift + 3 to capture the entire screen, or ⌘ + Shift + 4 to select a specific area. For more options, use ⌘ + Shift + 5 to open the Screenshot toolbar, which lets you capture windows, record the screen, set a timer, and quickly choose where to save your images.
If you’re wondering how to take screenshots on a MacBook Pro, whether for work, study, or convenience, you’re in the right place. macOS provides built-in methods to capture your screen quickly, including keyboard shortcuts, Preview, QuickTime Player, and the Screenshot app. Advanced users can also use third-party apps like Snagit, LightShot, and CleanShot X.
This guide covers keyboard shortcuts, saving screenshots in PNG or JPG, locating and editing them, taking screenshots with the mouse or trackpad, and differences between MacBook Pro and other Mac models. Whether you’re on macOS Monterey, Ventura, or Sonoma, these tools make capturing, saving, and sharing your screen simple and efficient.
Why Learning to Take Screenshots on MacBook Pro Is Useful
Knowing how to take screenshots on a MacBook Pro is not just a technical skill—it’s a key digital competency. Productivity can improve, as a quick shortcut allows you to capture and share information in seconds, efficiently taking Mac screenshots. This skill is also valuable for technical support, since an image of a problem often speaks louder than words, especially when contacting Apple support.
In both study and work, teachers and students can save slides, diagrams, or notes without retyping, using screen capture. Quick sharing via AirDrop, Mail, or Messages makes it easy to send Mac screenshots immediately. Documentation becomes more effective, too: keeping visual records of payments, online orders, or conversations ensures a clear and accessible archive.
These benefits are even greater when combined with macOS tools for editing, annotating, and cropping, turning every screenshot into a versatile and powerful tool for your Mac desktop.
How to Take Screenshots on MacBook Pro Using the Keyboard
Full-Screen Screenshot
Press ⌘ Command + ⇧ Shift + 3 to capture the entire screen. The image is automatically saved as a PNG on the Desktop and is useful when you want to show everything visible, including the menu bar and dock, using the Mac screenshot feature.
Partial Screen Screenshot
Press ⌘ Command + ⇧ Shift + 4 to capture a selected area of the screen. The mouse pointer turns into a cross, and using the trackpad or mouse, you can select the portion of the screen you want to capture.
Specific Window Screenshot
Press ⌘ Command + ⇧ Shift + 4, then hit the Spacebar. The cursor turns into a camera icon, and a single click on the desired window captures a precise screenshot without extra background, making it easy to save Mac screenshots.
Advanced Screenshot Menu
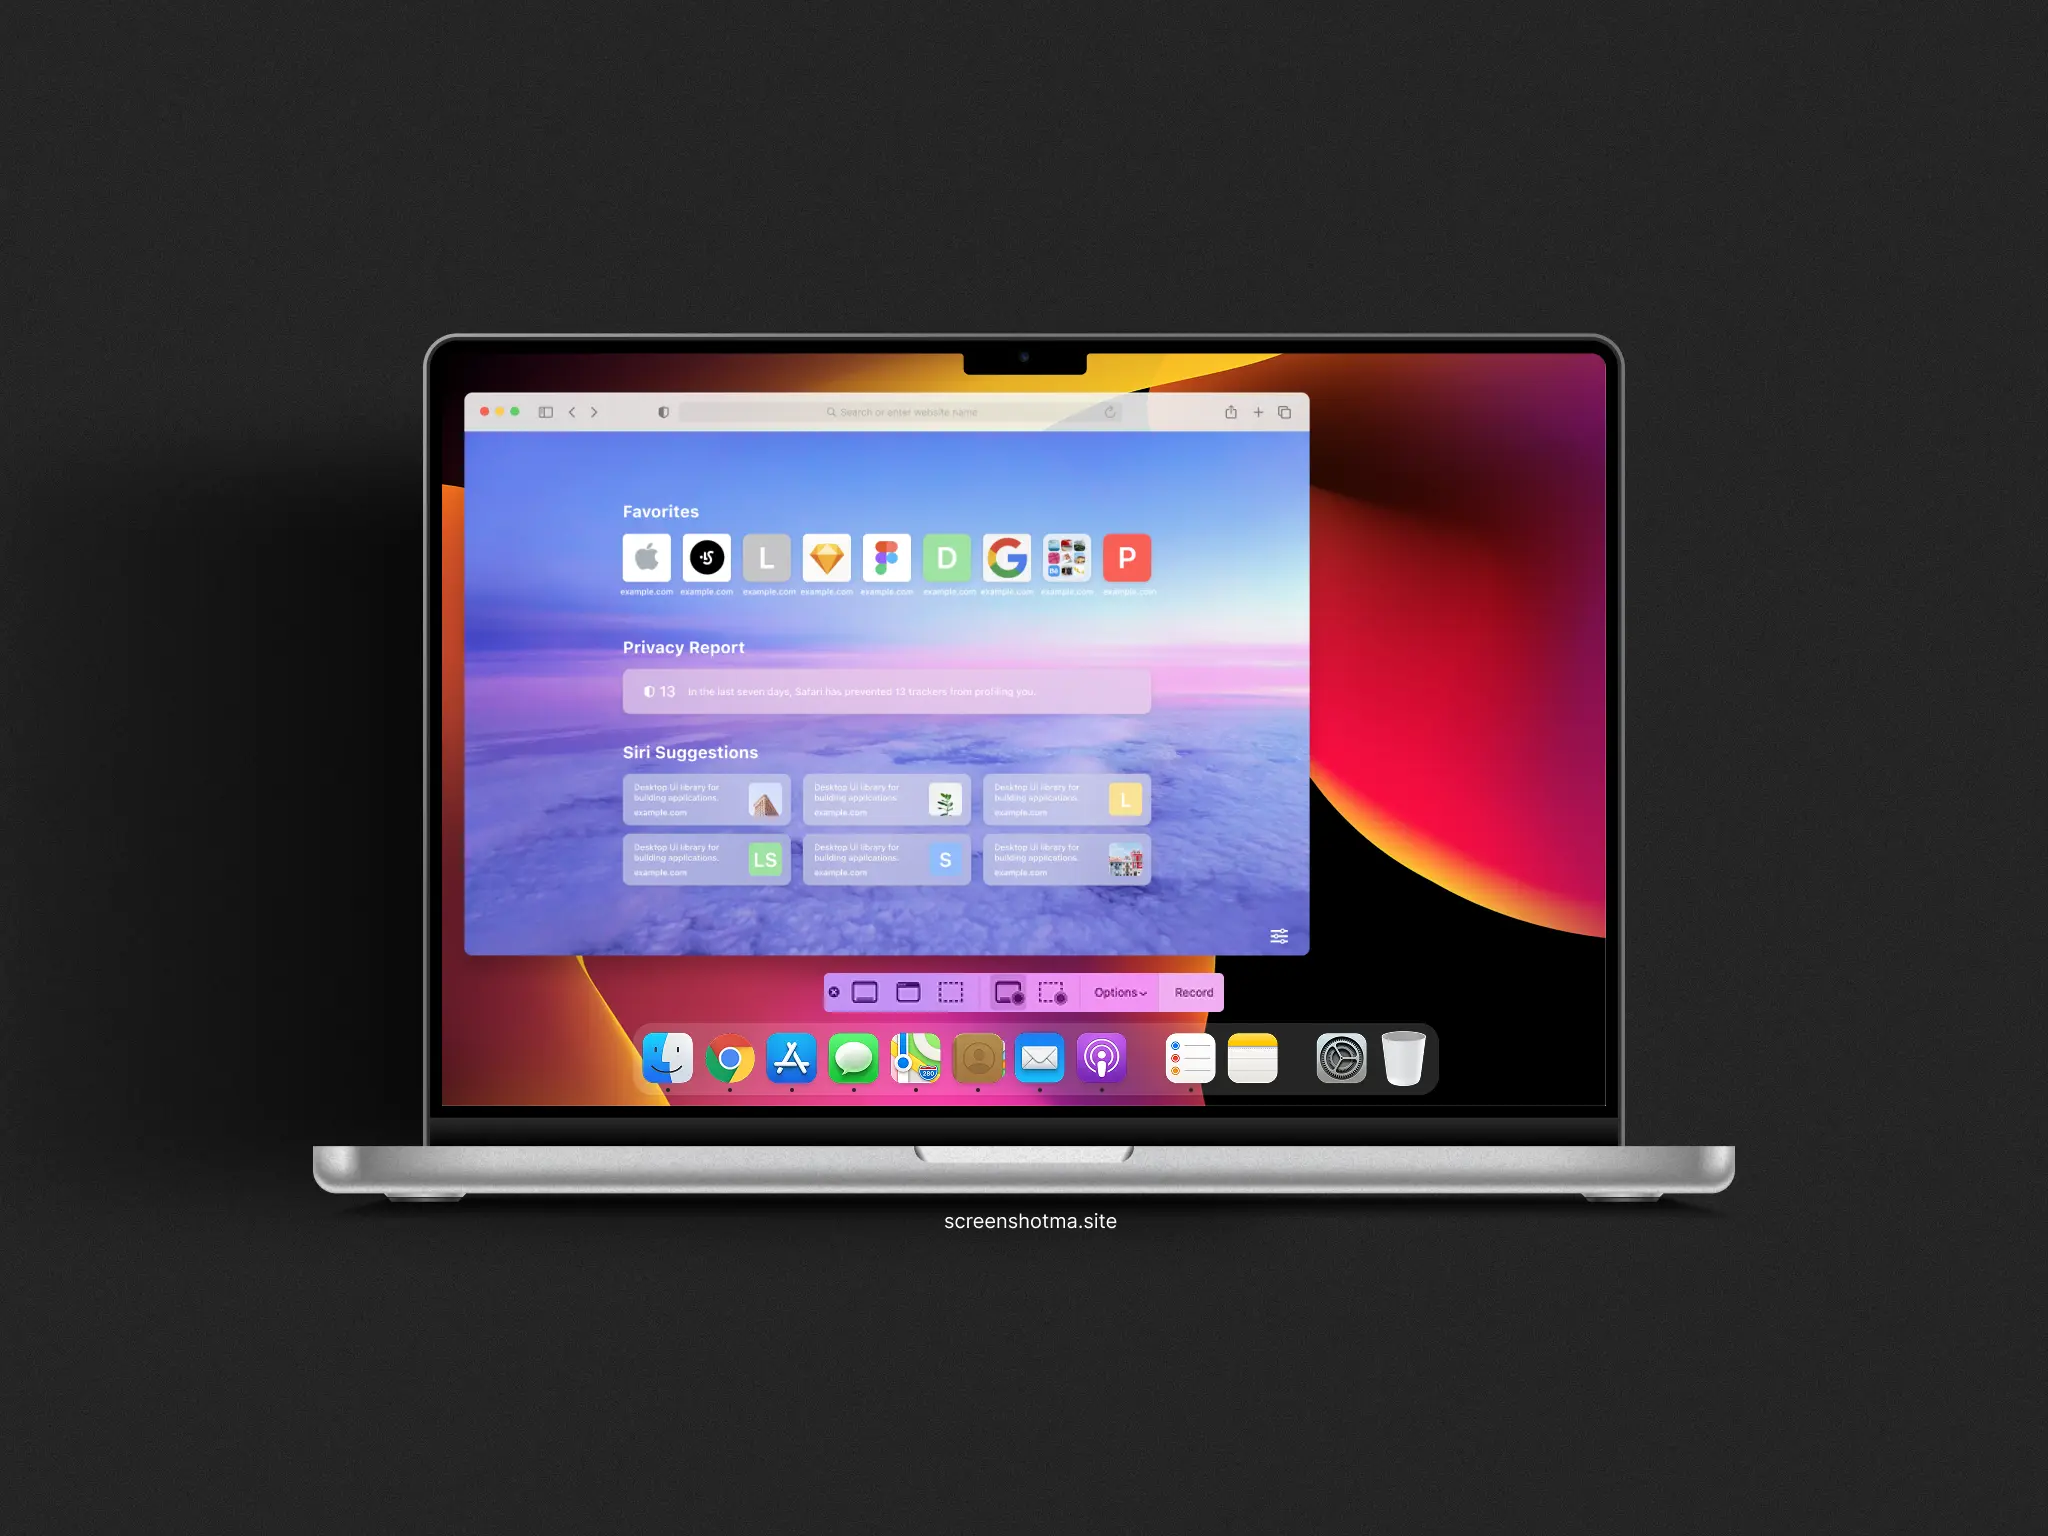
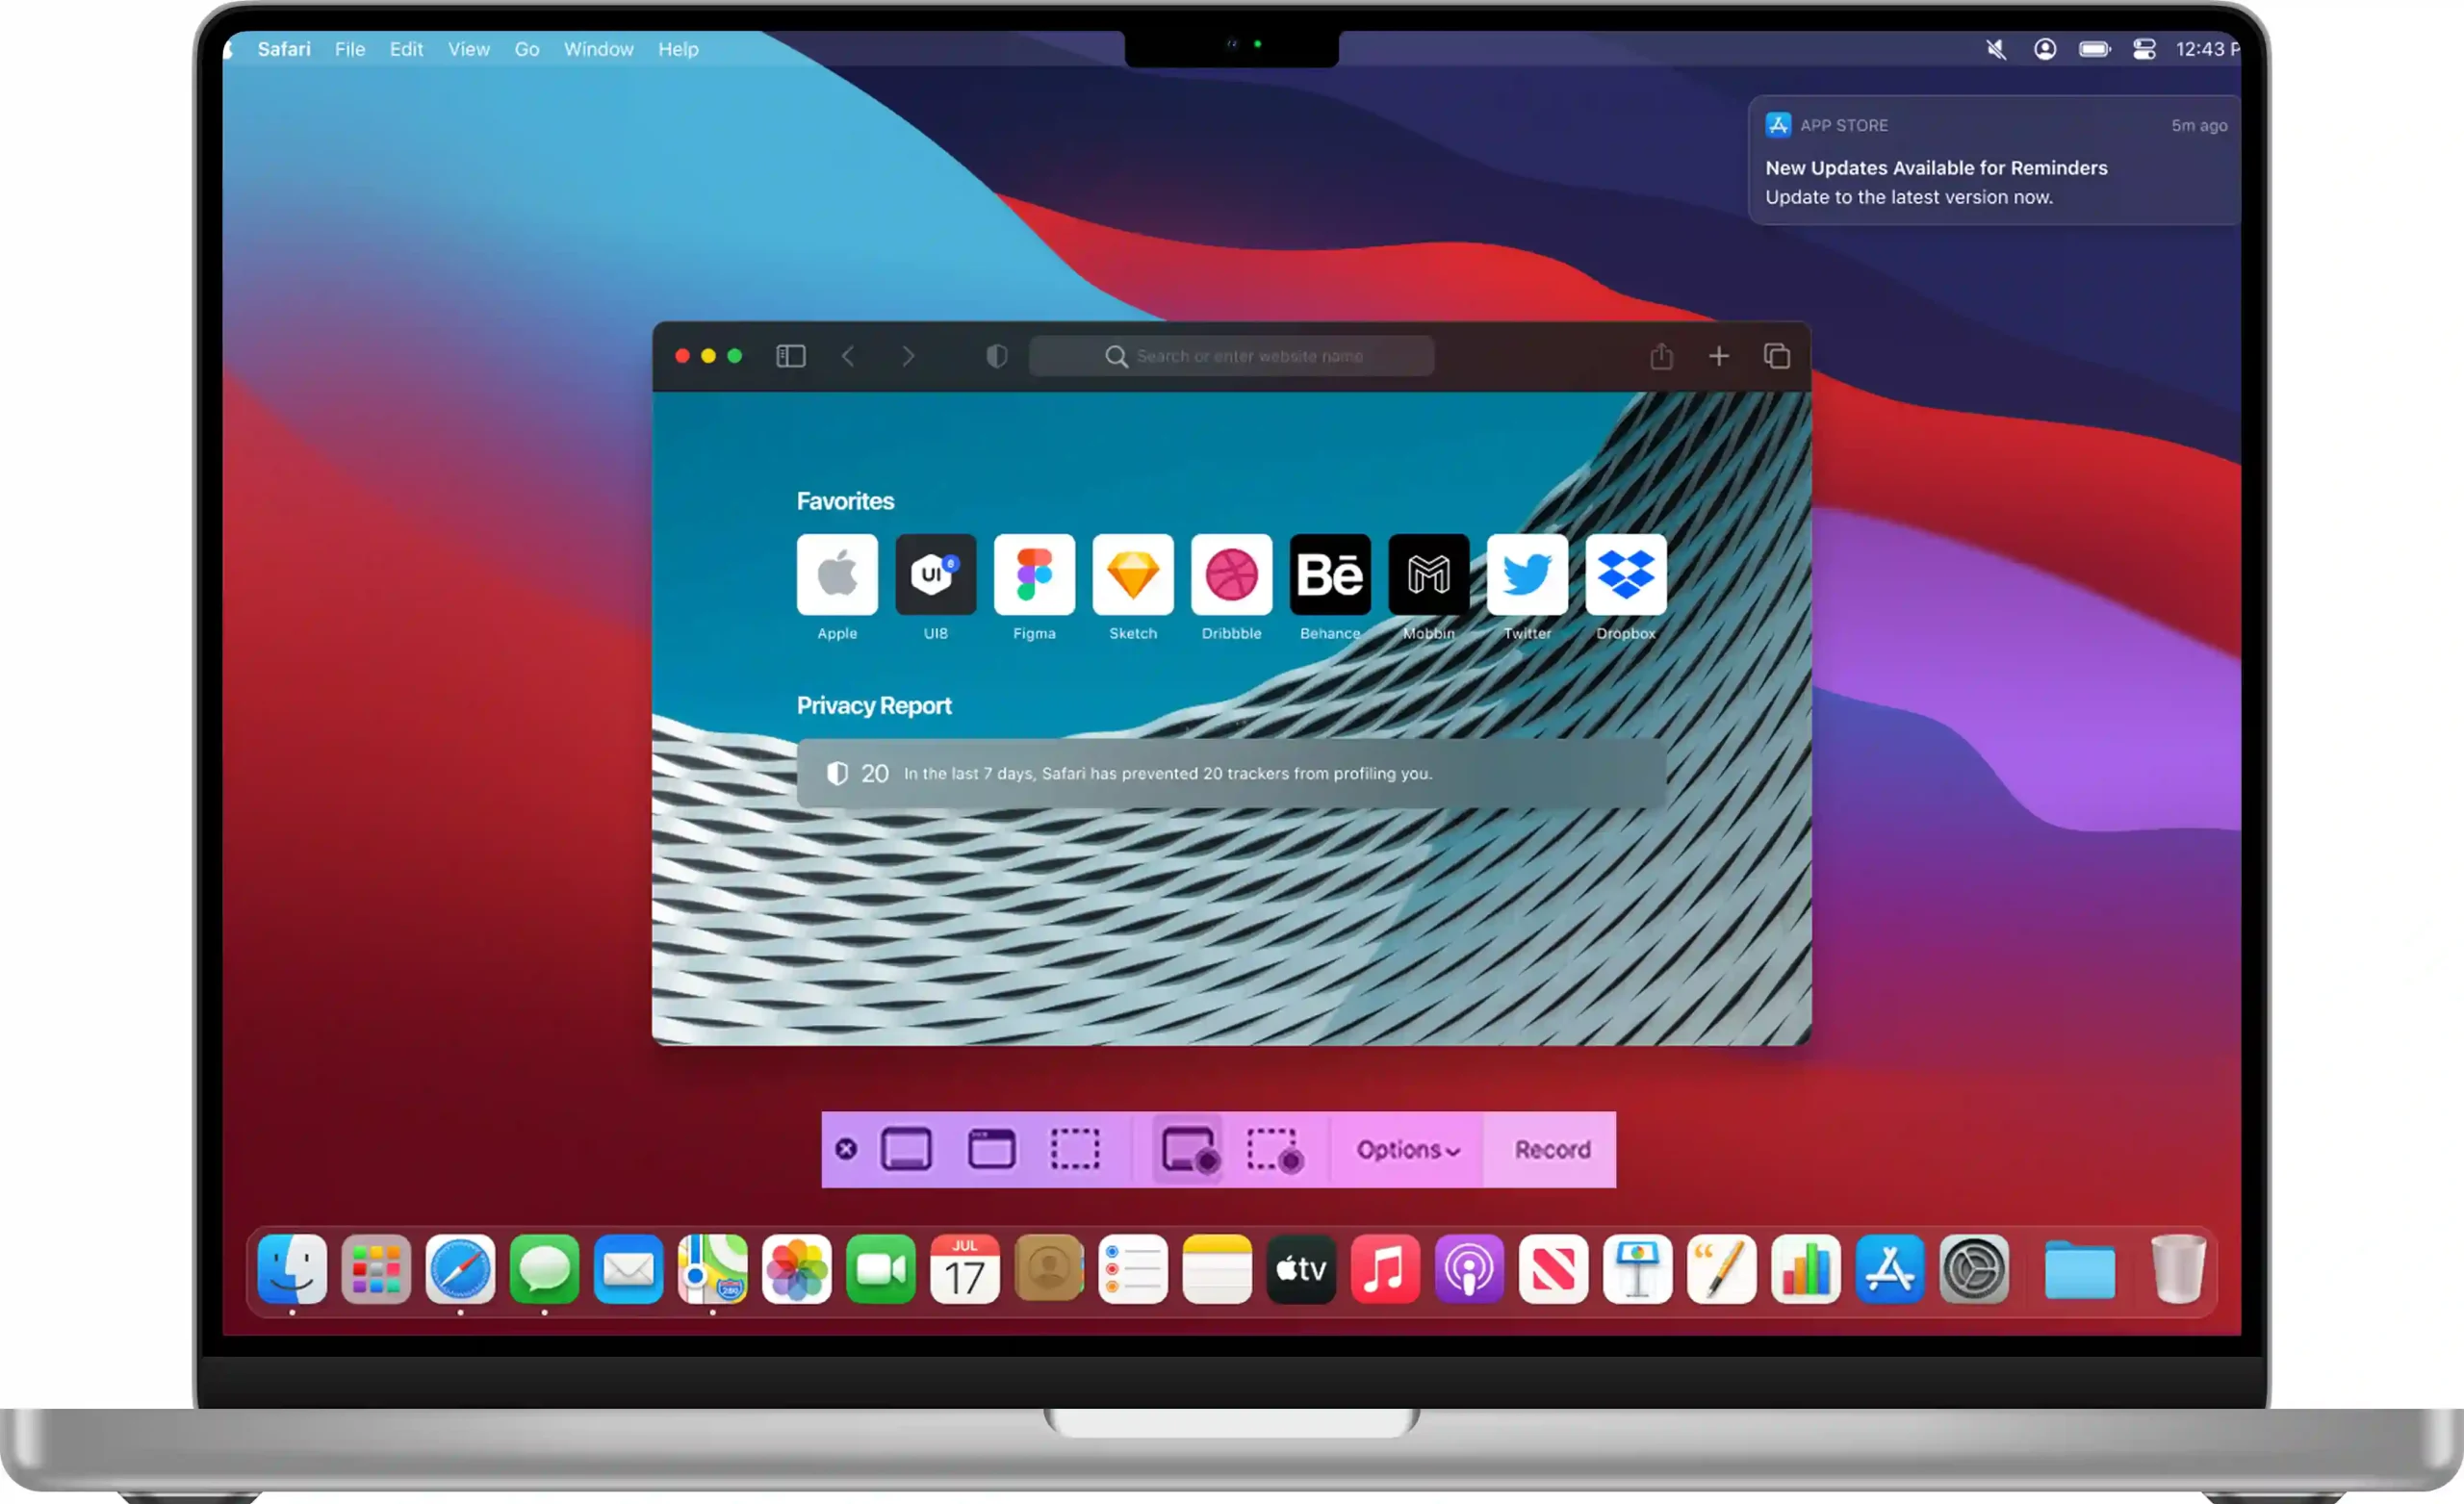
Press ⌘ Command + ⇧ Shift + 5 to open the Screenshot panel on your Mac. This keyboard shortcut allows you to capture the entire screen, a specific window, or a selected area. You can also record the full screen or a portion of it, set a 5- or 10-second timer, and choose the save location for your screen recordings.
Touch Bar Screenshot

If you have a MacBook Pro with a Touch Bar, you can easily capture what appears on the bar using the shortcut ⌘ Command + ⇧ Shift + 6. This combination automatically saves an image of the Touch Bar to the Desktop in PNG format. If you want to copy the screenshot to the clipboard instead, hold Control along with the other keys. You can then paste the image into documents, emails, or graphic apps without saving it as a file.
Where Screenshots Are Saved on MacBook Pro
By default, screenshots are saved to the Desktop in PNG format. However, with macOS, you can customize both the save location (Desktop, Downloads, Finder, or iCloud Drive) and the image format (PNG, JPG, or PDF) for saving screenshots. To change these settings, simply open the Screenshot panel and adjust the options for taking screenshots on Mac: ⌘ + ⇧ + 5 → Options, then choose the destination and format, such as capturing the entire Mac screen or a single window.
How to Edit Screenshots on MacBook Pro
One of macOS’s strengths is the ability to quickly edit screenshots and record the entire screen. Moreover, after capturing the screen, a thumbnail appears at the bottom right; then, clicking it opens the built-in editor with cropping, annotation, and drawing tools.
Using Preview, you get more advanced features, such as converting screenshots from PNG to JPG and adding signatures or other annotations. Quick Look allows you to view the image instantly without opening any app by simply pressing the spacebar.
How to Take a Screenshot on MacBook Pro Without Using the Keyboard
If the keys don’t work, you can find practical solutions and get support directly from Apple. With the Screenshot app (Applications → Utilities → Screenshot), you can choose full screen, a window, or a selected area. QuickTime Player allows you to record the screen, useful for showing longer steps and creating demonstration videos. You can also extract images from videos recorded with QuickTime Player in just a few simple steps. In the Accessibility settings, you can use the trackpad or mouse to activate advanced capture functions. These options make taking screenshots easier even when you can’t use the keyboard.
Comparison of Screenshot Methods
| Method | Advantages | Disadvantages |
|---|---|---|
| ⌘ + ⇧ + 3 | Fast, captures the entire Mac screen instantly. | Less precise. |
| ⌘ + ⇧ + 4 | Allows selecting a custom area for a screenshot, positioned on the bottom-right of the screen. | Requires manual skill to use advanced screen capture features. |
| ⌘ + ⇧ + 5 | Timer, recording, and advanced options. | Slower compared to quick shortcut screenshots. |
| ⌘ + ⇧ + 6 | Captures the Touch Bar. | Only available on models with Touch Bar. |
| Screenshot App | Intuitive; interface makes it easy to take screenshots on MacBook. | Must be opened manually. |
| QuickTime Player | Excellent for video recording. | Not immediate for images, though there are ways to capture them easily. |
Third-Party Applications
In addition to built-in tools, there are applications that enhance the experience of taking screenshots or recording your screen. CleanShot X is perfect for those working with guides and documentation, offering annotations, cloud saving, and animated GIFs. Snagit is ideal for video capture and creating interactive tutorials. LightShot is a lightweight, free program, great for quick screenshots. Finally, Skitch by Evernote is designed for users who make many visual annotations, making it easier to take and share screenshots efficiently.
Practical Scenarios
Screenshots on a Mac are useful in many situations. For example, you can save online payment receipts, as well as create tutorials or technical guides. Additionally, they allow you to share conversations with colleagues or friends, prepare presentations using images directly from your screen, and report software bugs to developers.
FAQ – Frequently Asked Questions
How to Take a Screenshot on MacBook Pro?
Press ⌘ + ⇧ + 3 to capture the entire screen, ⌘ + ⇧ + 4 for a selected area, and ⌘ + ⇧ + 5 to access advanced screenshot options. You can also hold keys to capture without using the keyboard.
How to Screenshot the Touch Bar?
Press ⌘ + ⇧ + 6 to capture the Mac’s Touch Bar. The image is saved to the Desktop. Hold Control to copy it to the clipboard instead.
Where Are Screenshots Saved?
By default, screenshots are saved to the Desktop. You can change the destination in the Screenshot app options to save them in a different folder.
How to Record the Screen?
Press ⌘ + ⇧ + 5 and select the recording icon to capture the entire screen or a selected portion. You can also use the mouse to start and stop recording.
Conclusion
In this guide, you’ve discovered all the methods to take screenshots on a MacBook Pro, from keyboard shortcuts to built-in apps. You learned how to capture the entire screen, a specific window, or a selected area quickly and precisely. You also saw how to edit screenshots, save them in different formats, and record the screen using the bottom-right toolbar. Thanks to macOS’s integrated tools, there’s no need to install additional software to capture images or videos. You can still expand functionality with professional apps dedicated to screenshots and screen recordings. Knowing how to capture, save, and share screenshots makes you more efficient in work or study.

Leave a Reply