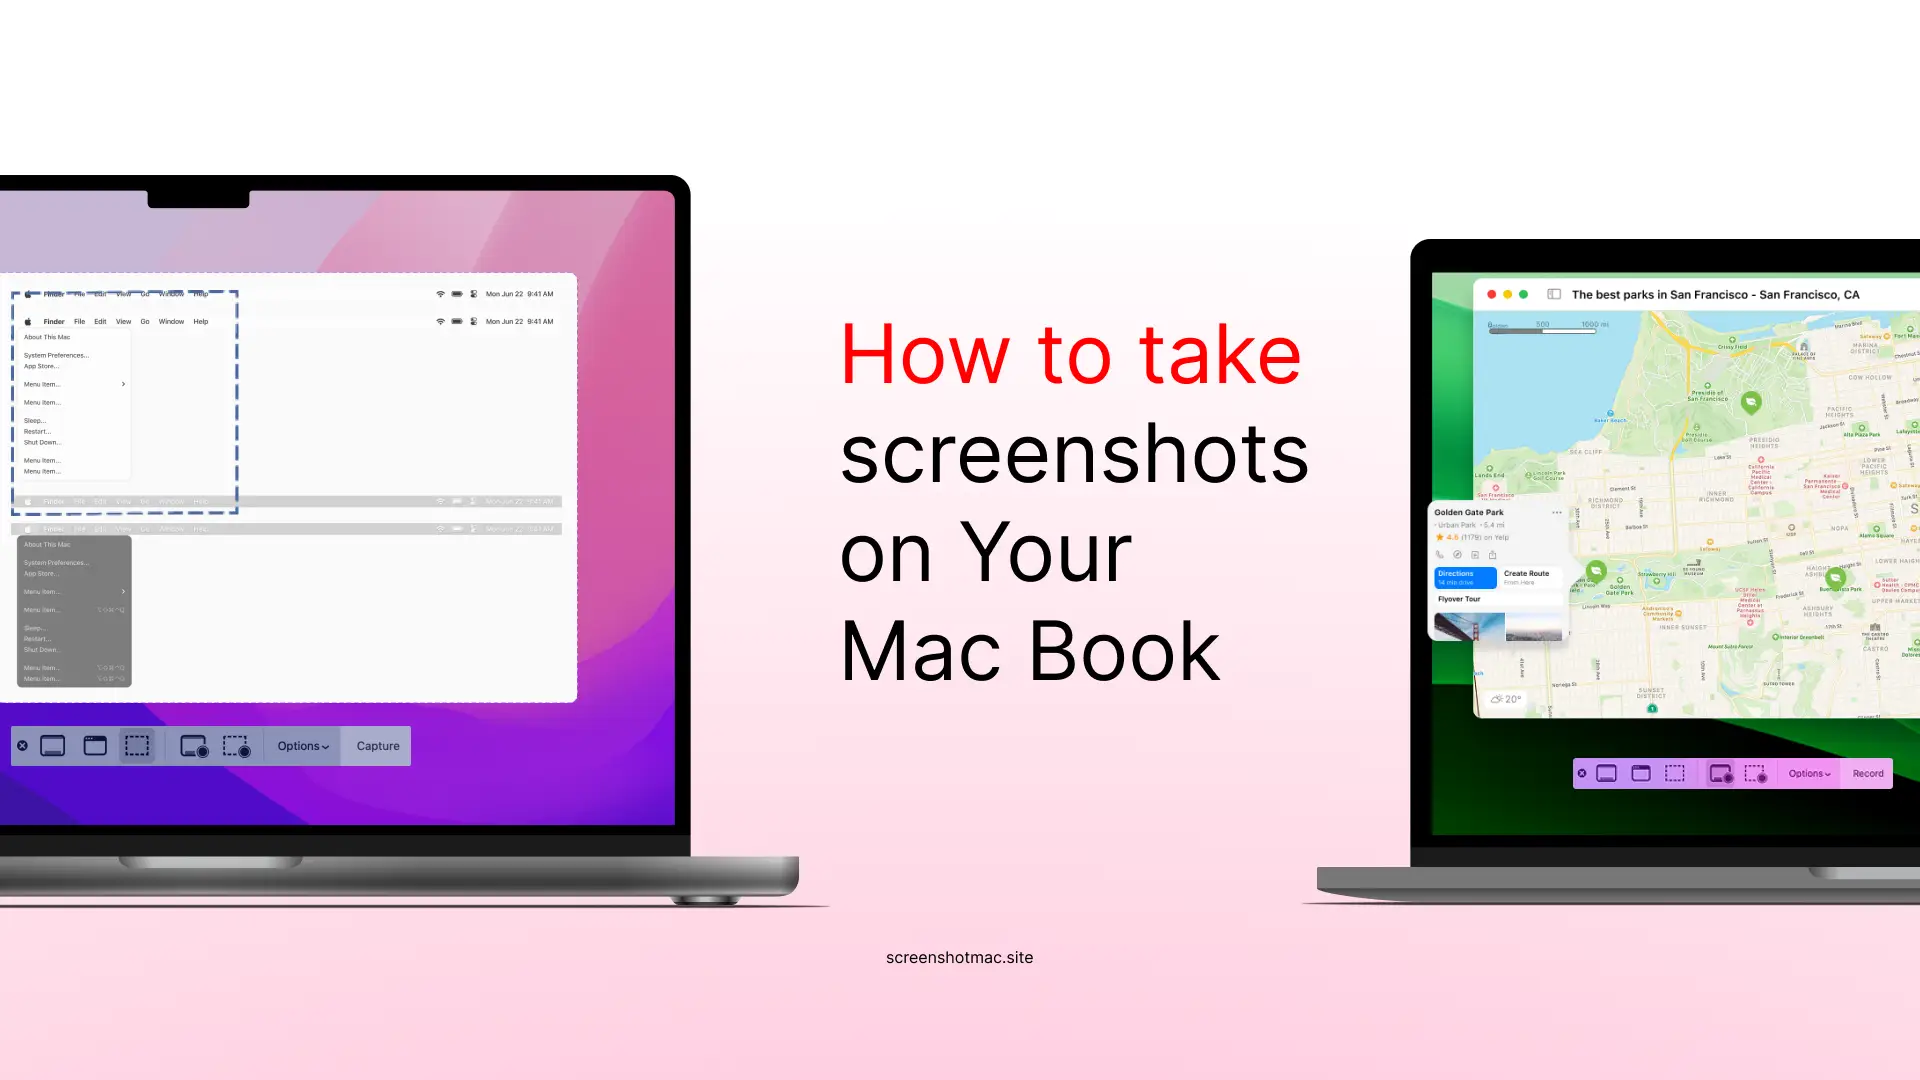
To take a screenshots on your MacBook, use keyboard shortcuts or the Screenshot app. Press ⌘ + Shift + 3 to capture the entire screen, or ⌘ + Shift + 4 to select a specific area. For more options, press ⌘ + Shift + 5 to open the Screenshot toolbar, where you can capture windows, record your screen, set timers, and choose where to save your screenshots quickly and easily.
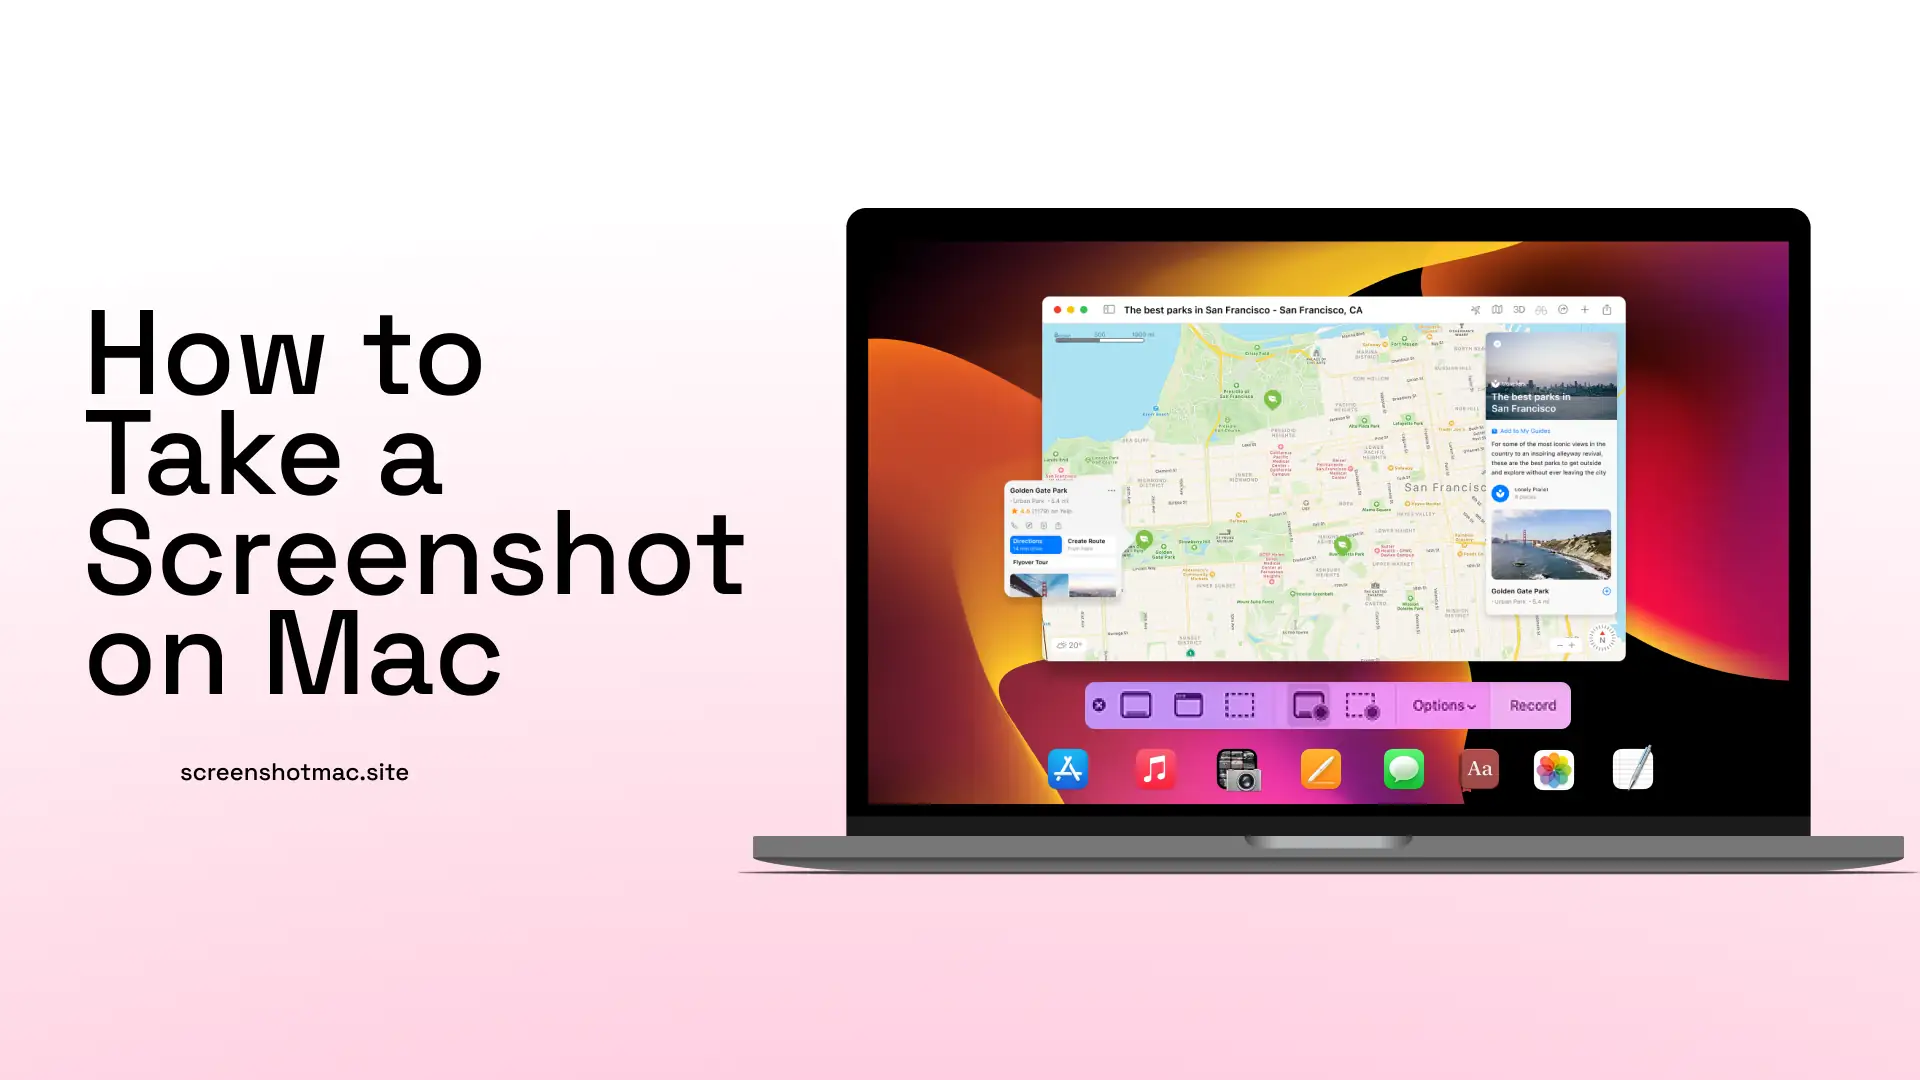
If you’ve ever wondered how to take a screenshot on a MacBook, you’re in the right place to also learn how to capture specific screenshots, edit them, or copy them. Whether you’re using a MacBook Air, MacBook Pro, or any other Apple device with macOS, this complete guide will explain all the available methods to capture your screen. You’ll discover keyboard shortcuts, built-in apps like Screenshot, QuickTime Player solutions, and helpful tips for taking, editing, and sharing screenshots on a Mac.
Why Learning to Take Screenshots on a MacBook Is Important
Knowing how to take a screenshot is not just convenient—it’s essential in many daily and work scenarios, especially for capturing a MacBook screen. You can grab an error on your screen to send to technical support, save an online payment receipt, collect visual notes to share with colleagues or friends, or create tutorials, guides, or presentations.
Moreover, macOS provides built-in apps that make capturing and editing screenshots, including specific areas, much more straightforward than other operating systems. This means you don’t necessarily need third-party apps, though advanced options are available for more specialized screenshot tasks, which we’ll cover later.
Main Methods to Take Screenshots on a MacBook
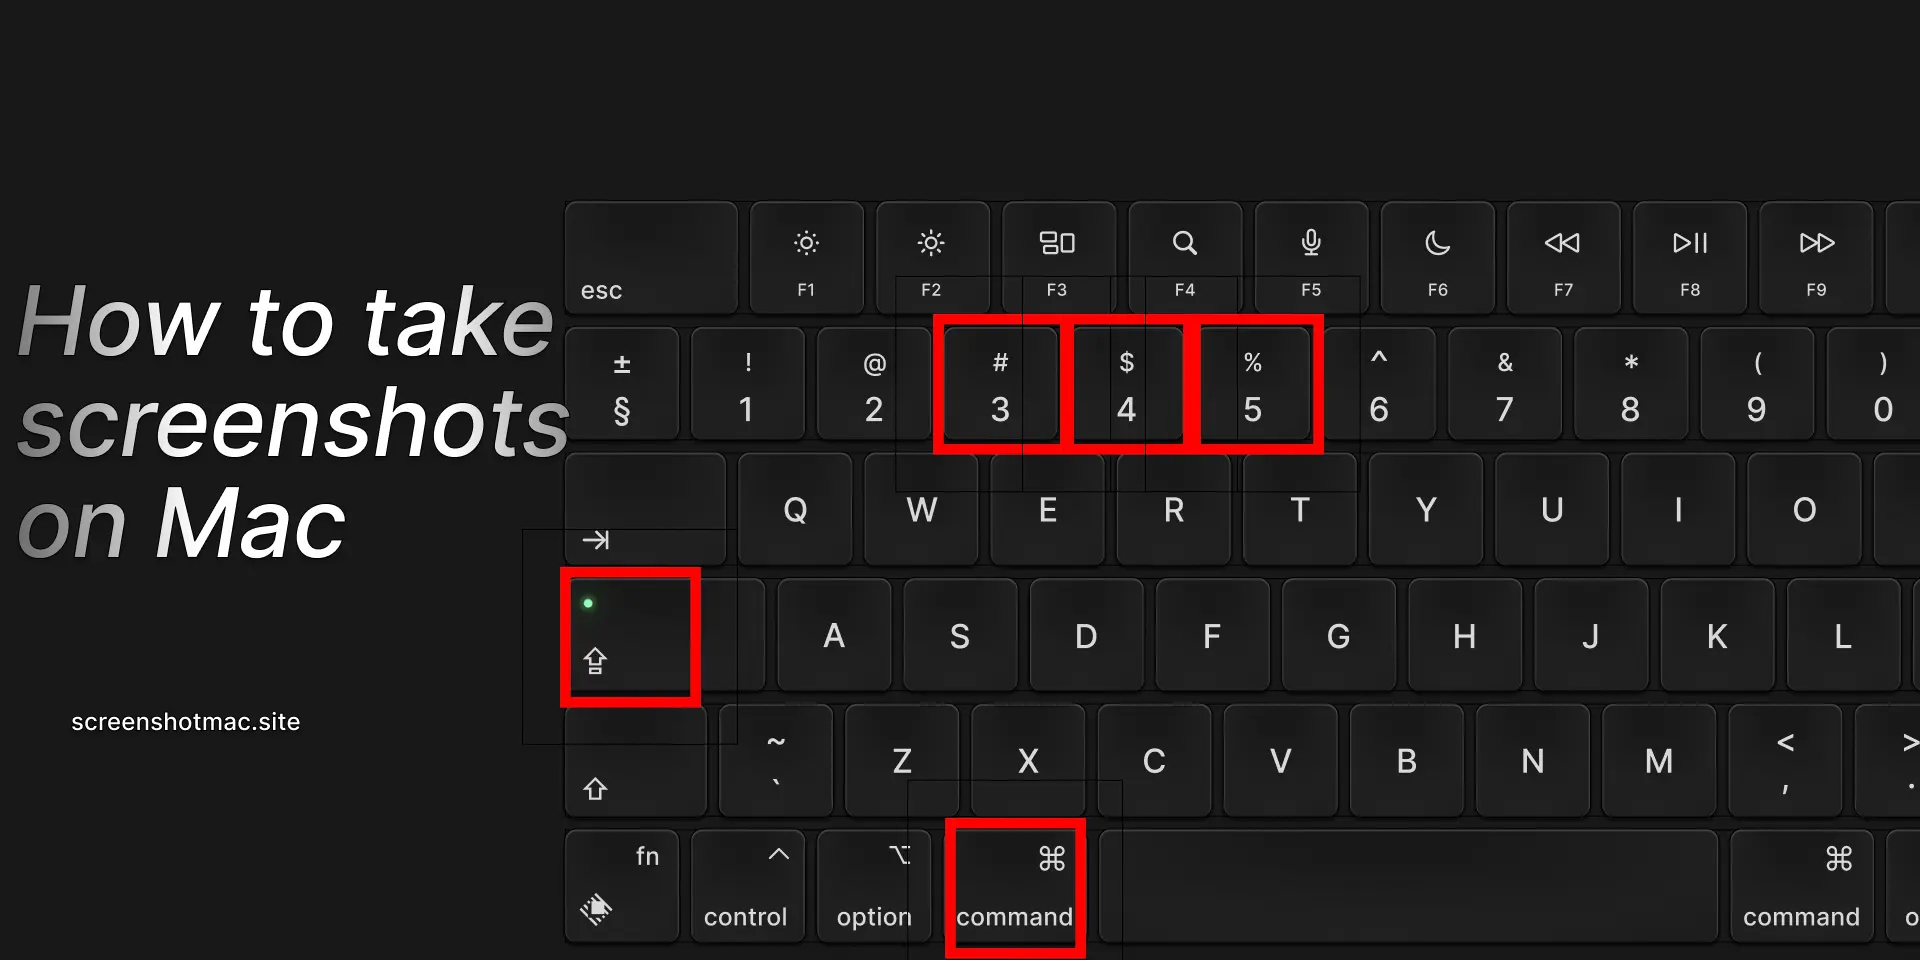
Full-Screen Screenshot (⌘ + ⇧ + 3)

The fastest way to capture your MacBook’s entire screen is by pressing Command (⌘) + Shift (⇧) + 3 simultaneously. You can also capture just a single window or area. Pressing Command + Shift + 3 saves a full-screen screenshot automatically in PNG format on the Desktop. After pressing the combination, the screenshot appears as a thumbnail in the bottom-right corner. Click the thumbnail to edit it immediately or wait for it to save directly to the Desktop.
Selected Area Screenshot (⌘ + ⇧ + 4)
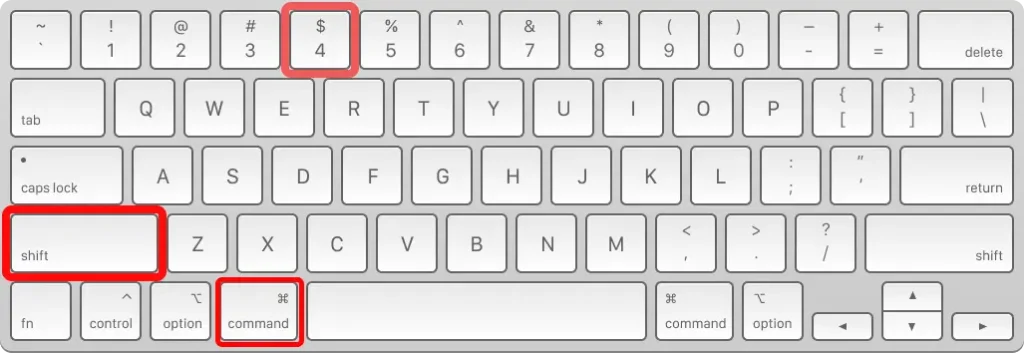
This method is useful when you want to capture only a portion of your Mac’s screen using the mouse. Press Command + Shift + 4, drag the mouse over the desired area, and release to take a screenshot of that portion. The image will be saved to the Desktop, where you can click it to view. After pressing the combination, the cursor turns into a crosshair for precise screen capture. Drag to select the area and release to capture. Press the Spacebar to switch to active window mode. You can edit screenshots or recordings to fit your needs.
Specific Window Screenshot (⌘ + ⇧ + 4 + Space)
If you want to capture just a single window without manually selecting an area, macOS offers a dedicated shortcut. To capture a window on MacBook, press Command + Shift + 4, then hit the Spacebar. Click on the desired window, and the screenshot will be saved automatically. Click to view the screenshot of an app just captured and copy it for use elsewhere.
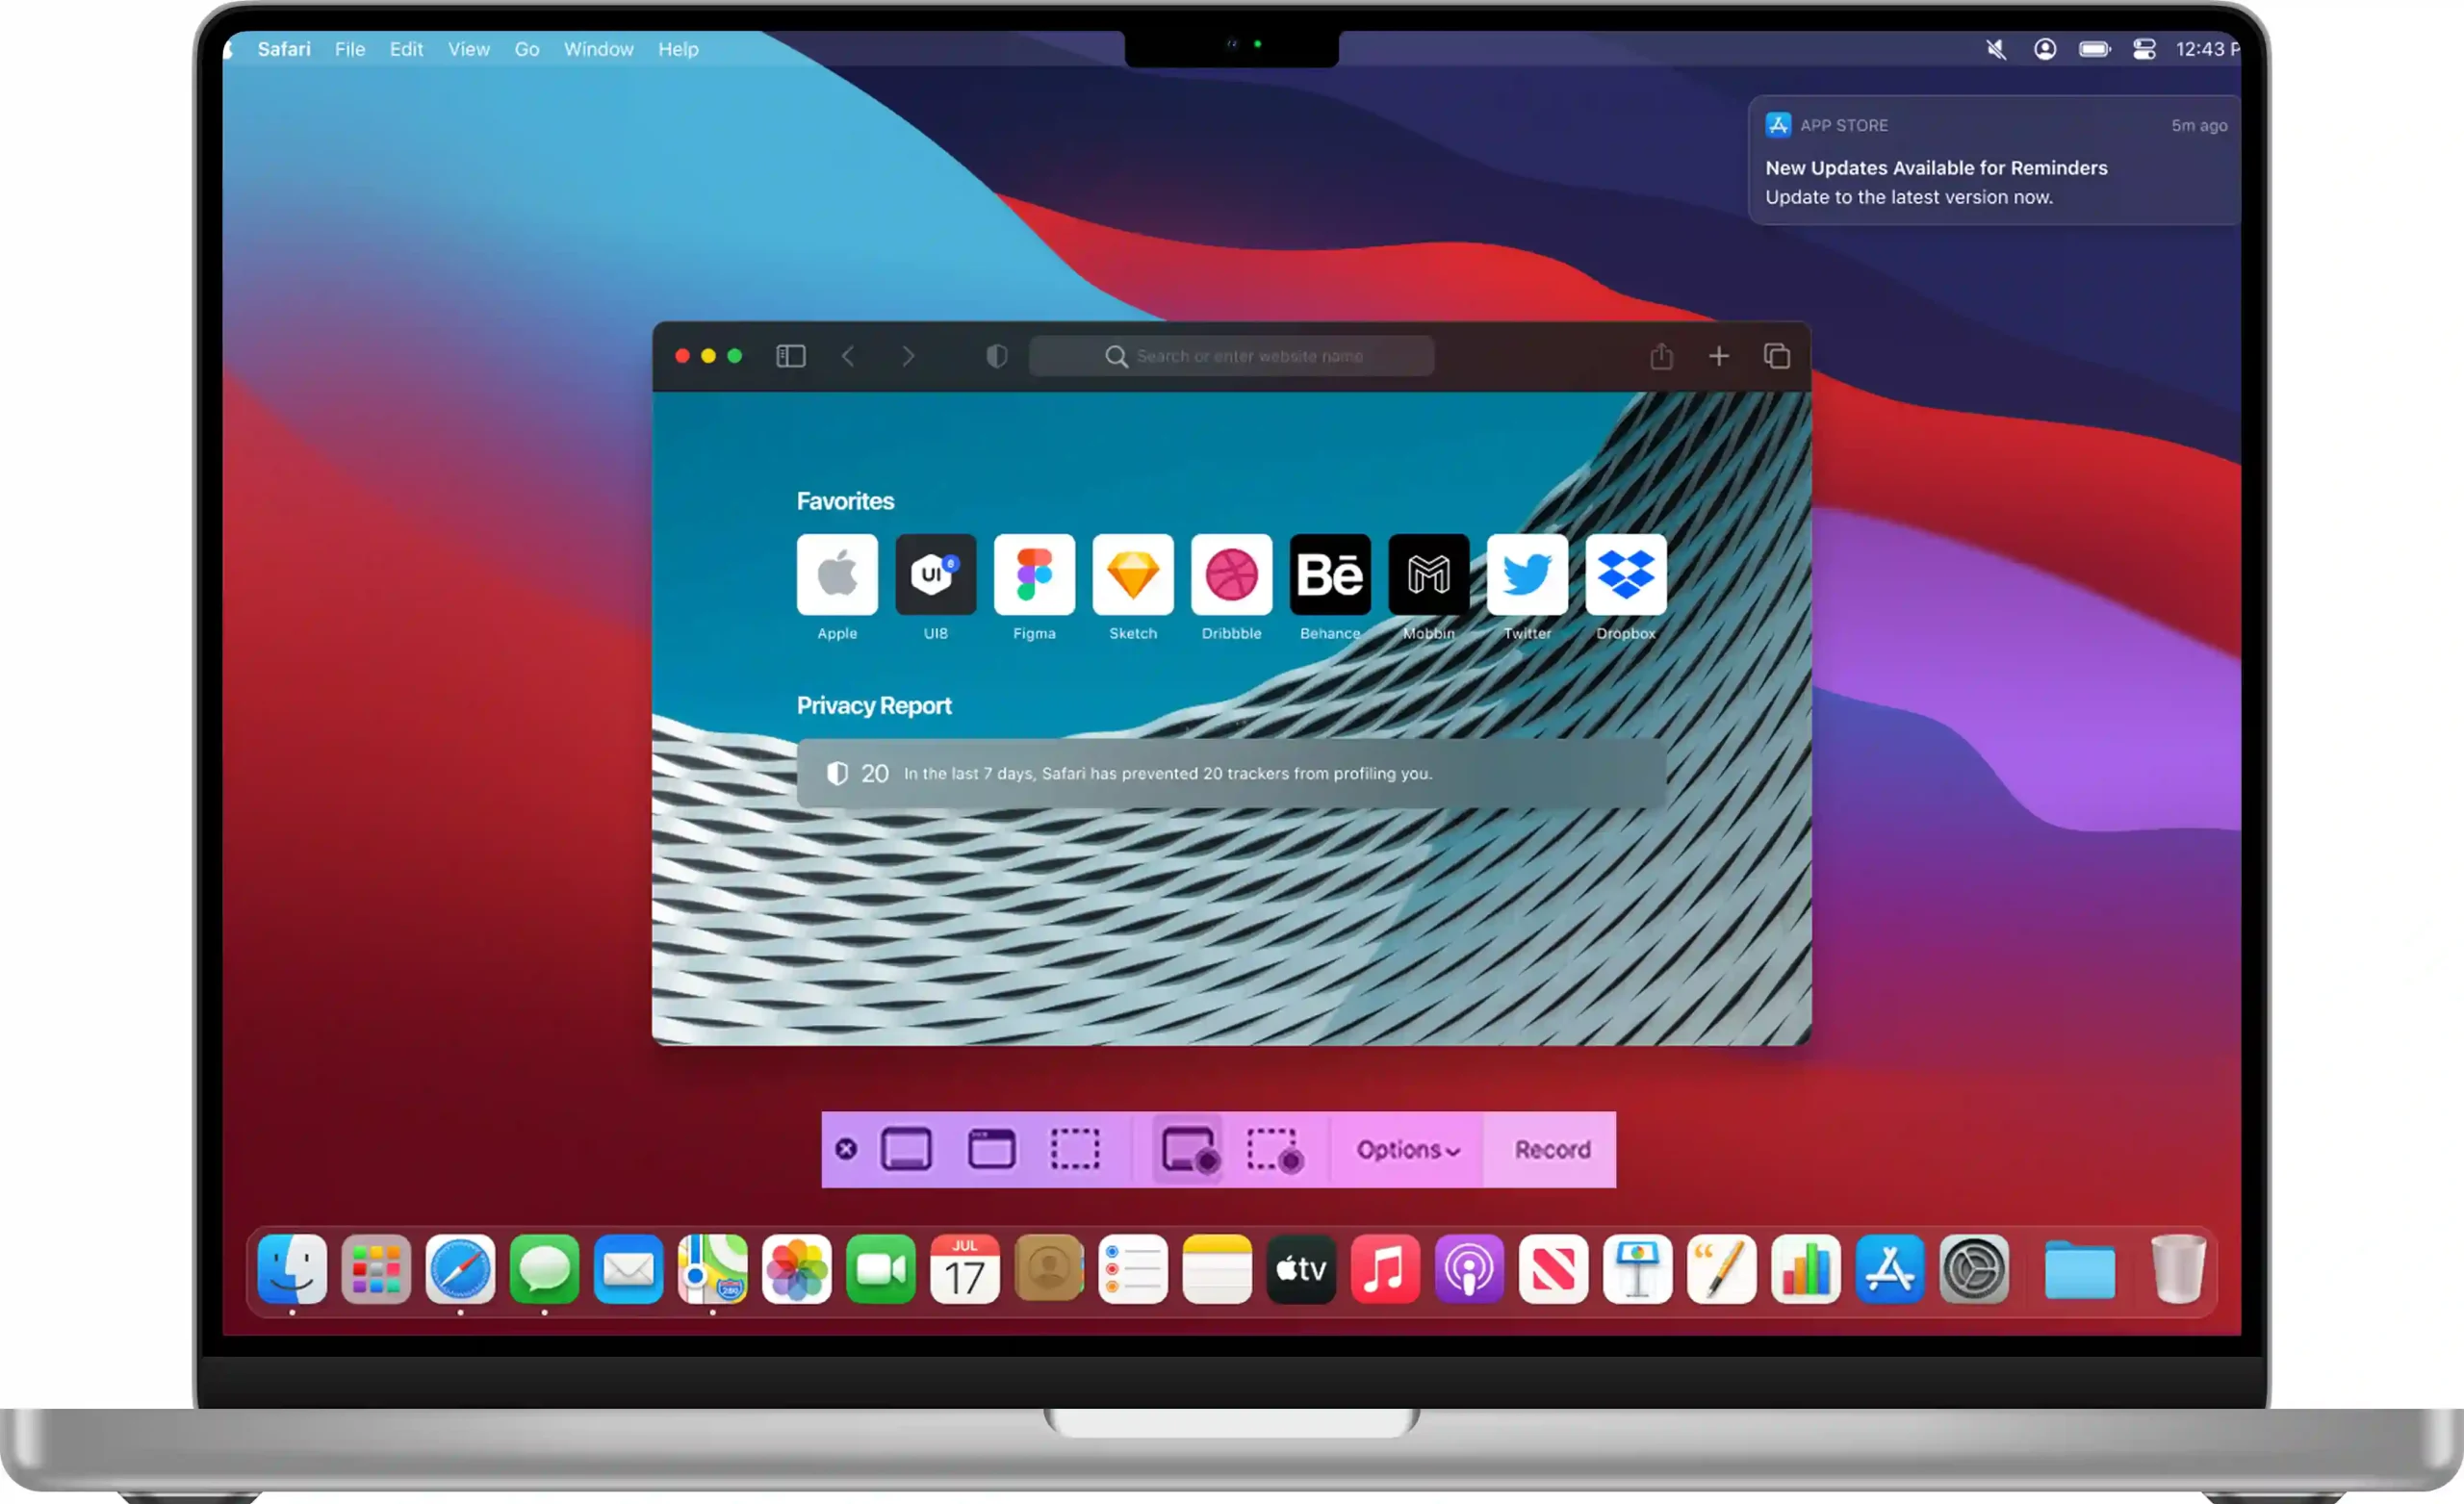
Advanced screenshots with ⌘ + ⇧ + 5 (Screenshot App)
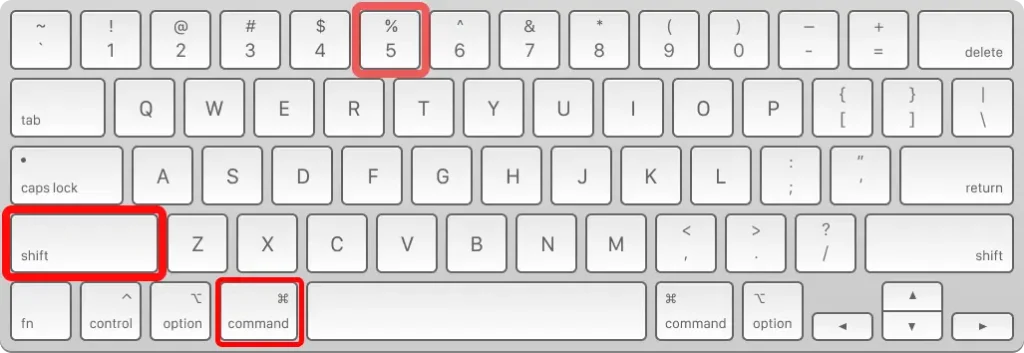
With macOS Mojave and later versions, Apple introduced a full toolbar for capturing screenshots on the Mac. When you press Command + Shift + 5, a menu appears at the bottom that allows you to capture the entire screen, select a window, define a custom area, start a screen recording with the integrated QuickTime Player, set a 5- or 10-second timer, and choose the save folder. This feature makes many third-party apps unnecessary, including the standard Screenshot app.
Screenshots with the Touch Bar (MacBook Pro only)
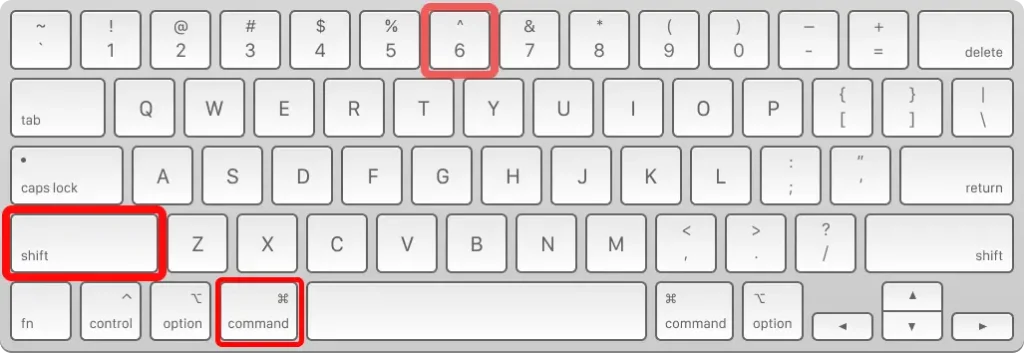
MacBook Pros with a Touch Bar offer an extra method to take screenshots quickly and efficiently. To capture the Touch Bar, press Command + Shift + 6, which takes a screenshot specifically of the interactive bar above the keyboard. This method is useful for saving active controls, media buttons, or custom shortcuts. The Mac saves the screenshot directly to the Desktop, so you can view, edit, or share it immediately.
Where screenshots are saved on a MacBook
By default, screenshots are saved to the Desktop in PNG format, but you can also use the Screenshot app to edit them. Additionally, tools like LightShot can simplify the process. In System Settings > Keyboard > Shortcuts > Screenshots or via the ⌘ + ⇧ + 5 menu, you can change the save location (Desktop, Downloads, Documents, iCloud), the file format (PNG, JPG, PDF), and even the option to automatically copy to the Clipboard.
How to edit screenshots on a MacBook
After capturing a screenshot, macOS displays a thumbnail in the bottom-right corner. By clicking it, you can crop the image, add annotations with text, arrows, or circles, highlight parts of the screenshot, save changes in Preview, or share them via AirDrop, Mail, Messages, or iCloud Drive.
Sharing Screenshots
Quickly share screenshots via AirDrop to other Apple devices, upload them to iCloud Drive for automatic synchronization, or use the Share Sheet in Mail, Messages, Notes, or third-party apps.
Third-party apps for advanced screenshots on Mac
In addition to the built-in options, there are apps that offer extra features such as advanced editing, cloud storage, and full-page browser screenshots to enhance your Mac screenshot experience. Among the most popular are shortcuts for capturing screenshots and recordings on Mac. CleanShot X is a useful app for efficiently editing screenshots, widely used by professionals for modifying Mac screenshots. Snagit allows effective screenshot capture, ideal for applications like guides and documentation, and macOS screenshots on a Mac. LightShot is a popular screenshot tool for Mac, simple and free, perfect for quick annotations of screenshots and recordings—learn how to use it effectively. Skitch (Evernote) is excellent for quick annotations and capturing screenshots directly.
Common Issues and Solutions (Mac Screenshots)
Check the destination folder or restart your Mac if the screenshot is not saved. Next, verify the settings in the built-in Screenshot app by going to System Preferences > Keyboard > Shortcuts if the shortcuts don’t work. Additionally, you can change the image format using Terminal or by pressing ⌘ + ⇧ + 5 to adjust screenshot settings on your Mac.
Comparison Table: Methods to Take Screenshots on MacBook
| Method | Shortcut | Main Use | Screenshot Storage |
|---|---|---|---|
| Full Screen | ⌘ + ⇧ + 3 | Capture the entire screen on a Mac | Desktop (PNG) with options to click thumbnails in the menu bar, including built-in screenshot methods |
| Selected Area | ⌘ + ⇧ + 4 | Capture a custom portion of the screen | Desktop (PNG) |
| Active Window | ⌘ + ⇧ + 4 + Space | Capture only a selected window precisely | Desktop (PNG) |
| Advanced Toolbar | ⌘ + ⇧ + 5 | Full options + recording to capture high-quality screenshots easily | Chosen folder for saving screenshots and recordings, essential for Mac users |
| Touch Bar | ⌘ + ⇧ + 6 | Capture the Touch Bar | Desktop (PNG) |
FAQ – Frequently Asked Questions About Taking Screenshots on MacBook
How do you take a screenshot on a Mac computer?
To capture your MacBook screen, press Command + Shift + 3 to take a screenshot of the entire screen, including all open windows, menus, and desktop icons. If you only want a specific portion, press Command + Shift + 4, which changes the cursor into a crosshair, allowing you to click and drag to select the desired area. The screenshot is then automatically saved for easy access.
How to take a screenshot on a MacBook Air?
To take a screenshot quickly on your Mac, use the same keyboard shortcuts: press ⌘ + ⇧ + 3 to capture the entire screen, including all visible windows and desktop icons. If you only want a specific area, press ⌘ + ⇧ + 4, which turns the cursor into a crosshair so you can click and drag to select the portion of the screen you wish to capture.
How to take a screenshot on a MacBook Pro?
In addition to the classic screenshot shortcuts, you can capture the Touch Bar on a MacBook Pro by pressing ⌘ + ⇧ + 6. This shortcut takes a screenshot specifically of the interactive bar above the keyboard, including all active buttons, controls, and shortcuts visible at that moment. The captured image is automatically saved to the Desktop, making it easy to access, edit, or share.
How to change the screenshot format on a Mac?
Open Terminal and use the following to change your Mac’s screenshot settings, allowing quick modifications:
defaults write com.apple.screencapture type jpg; killall SystemUIServer
Conclusion
Now you know exactly how to take screenshots on a MacBook in every way, from the simplest shortcuts to advanced options. You can use ⌘ + ⇧ + 3, 4, 5 shortcuts or the Screenshot toolbar with ease. Additionally, you can capture the entire screen, active windows, or custom portions, save in different formats, and edit with Preview. Screenshots can also be easily shared via AirDrop or iCloud, letting you distribute images quickly without extra hassle. The final tip is to master at least two methods: the quick shortcuts ⌘ + ⇧ + 3/4 and the toolbar ⌘ + ⇧ + 5. This way, you’ll always be ready to capture, edit, and share any screen quickly, efficiently, and effortlessly.

Leave a Reply