
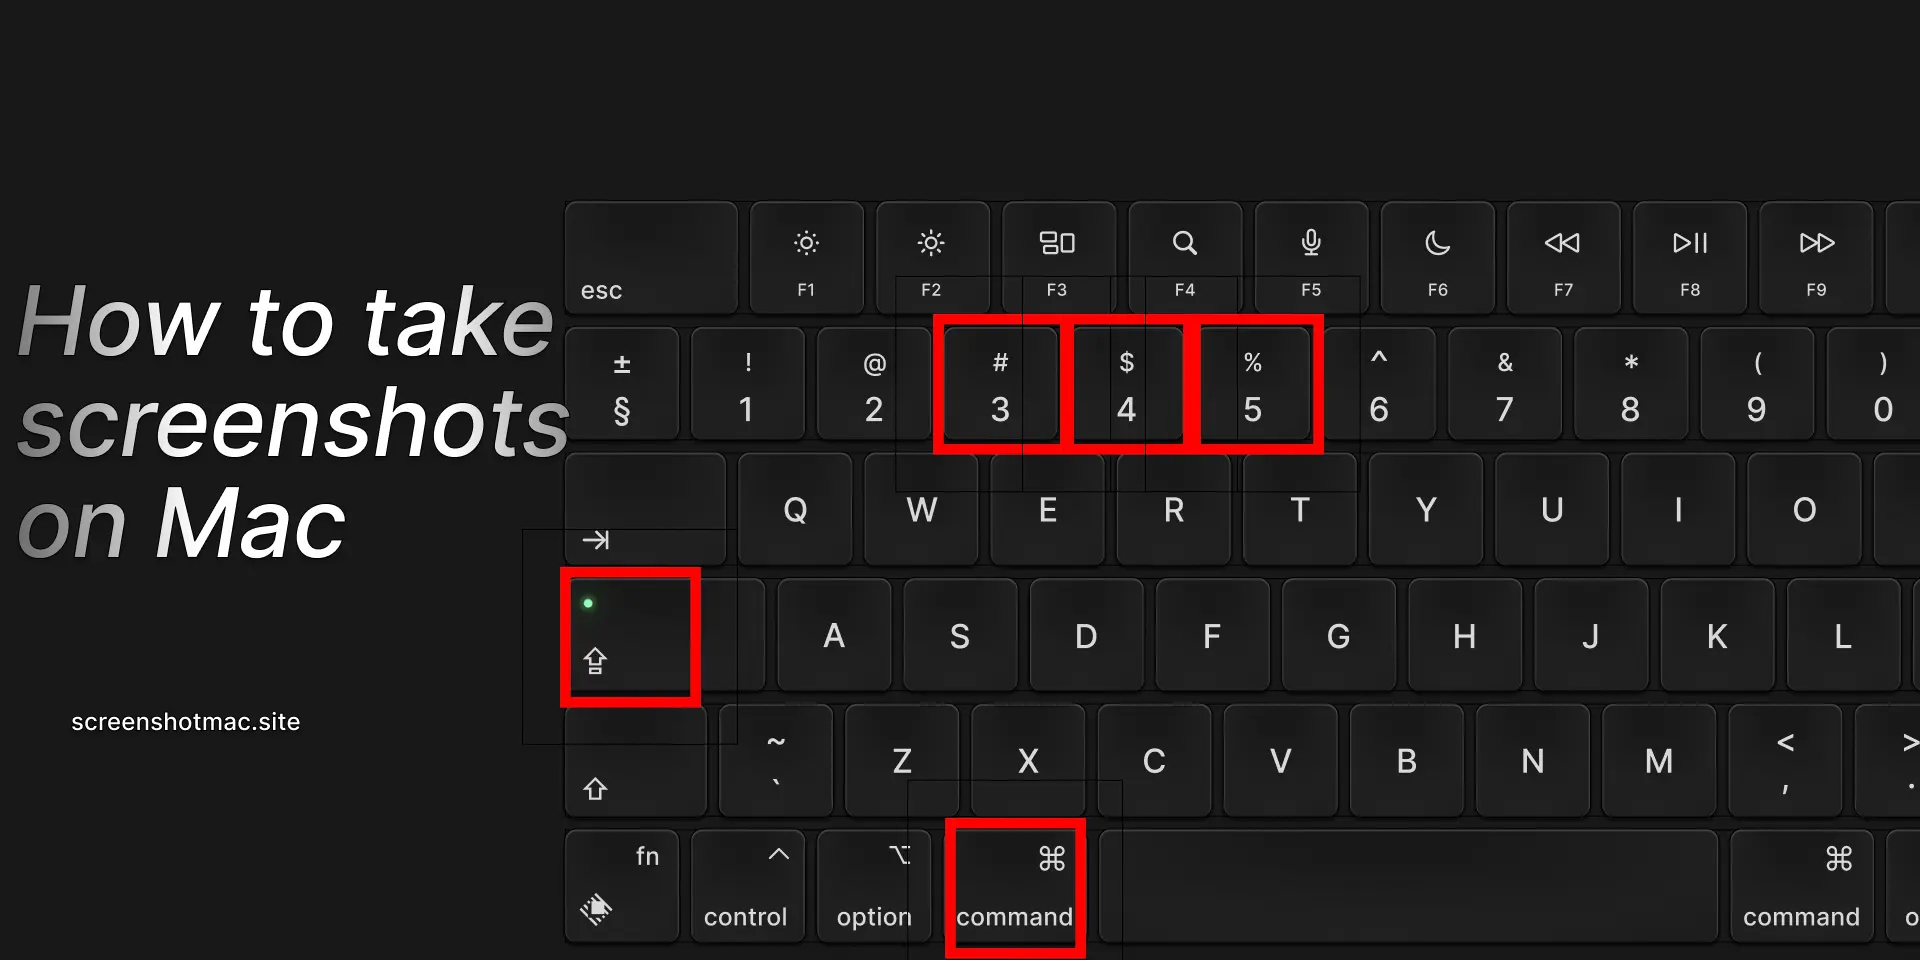
To take a Screenshot on Mac Airbook, use Command (⌘) + Shift + 3 to capture the entire screen, or Command (⌘) + Shift + 4 to select a specific area. For more options, press Command (⌘) + Shift + 5 to open the Screenshot toolbar, which lets you capture windows, record your screen, set timers, and choose where to save your screenshots quickly and easily.
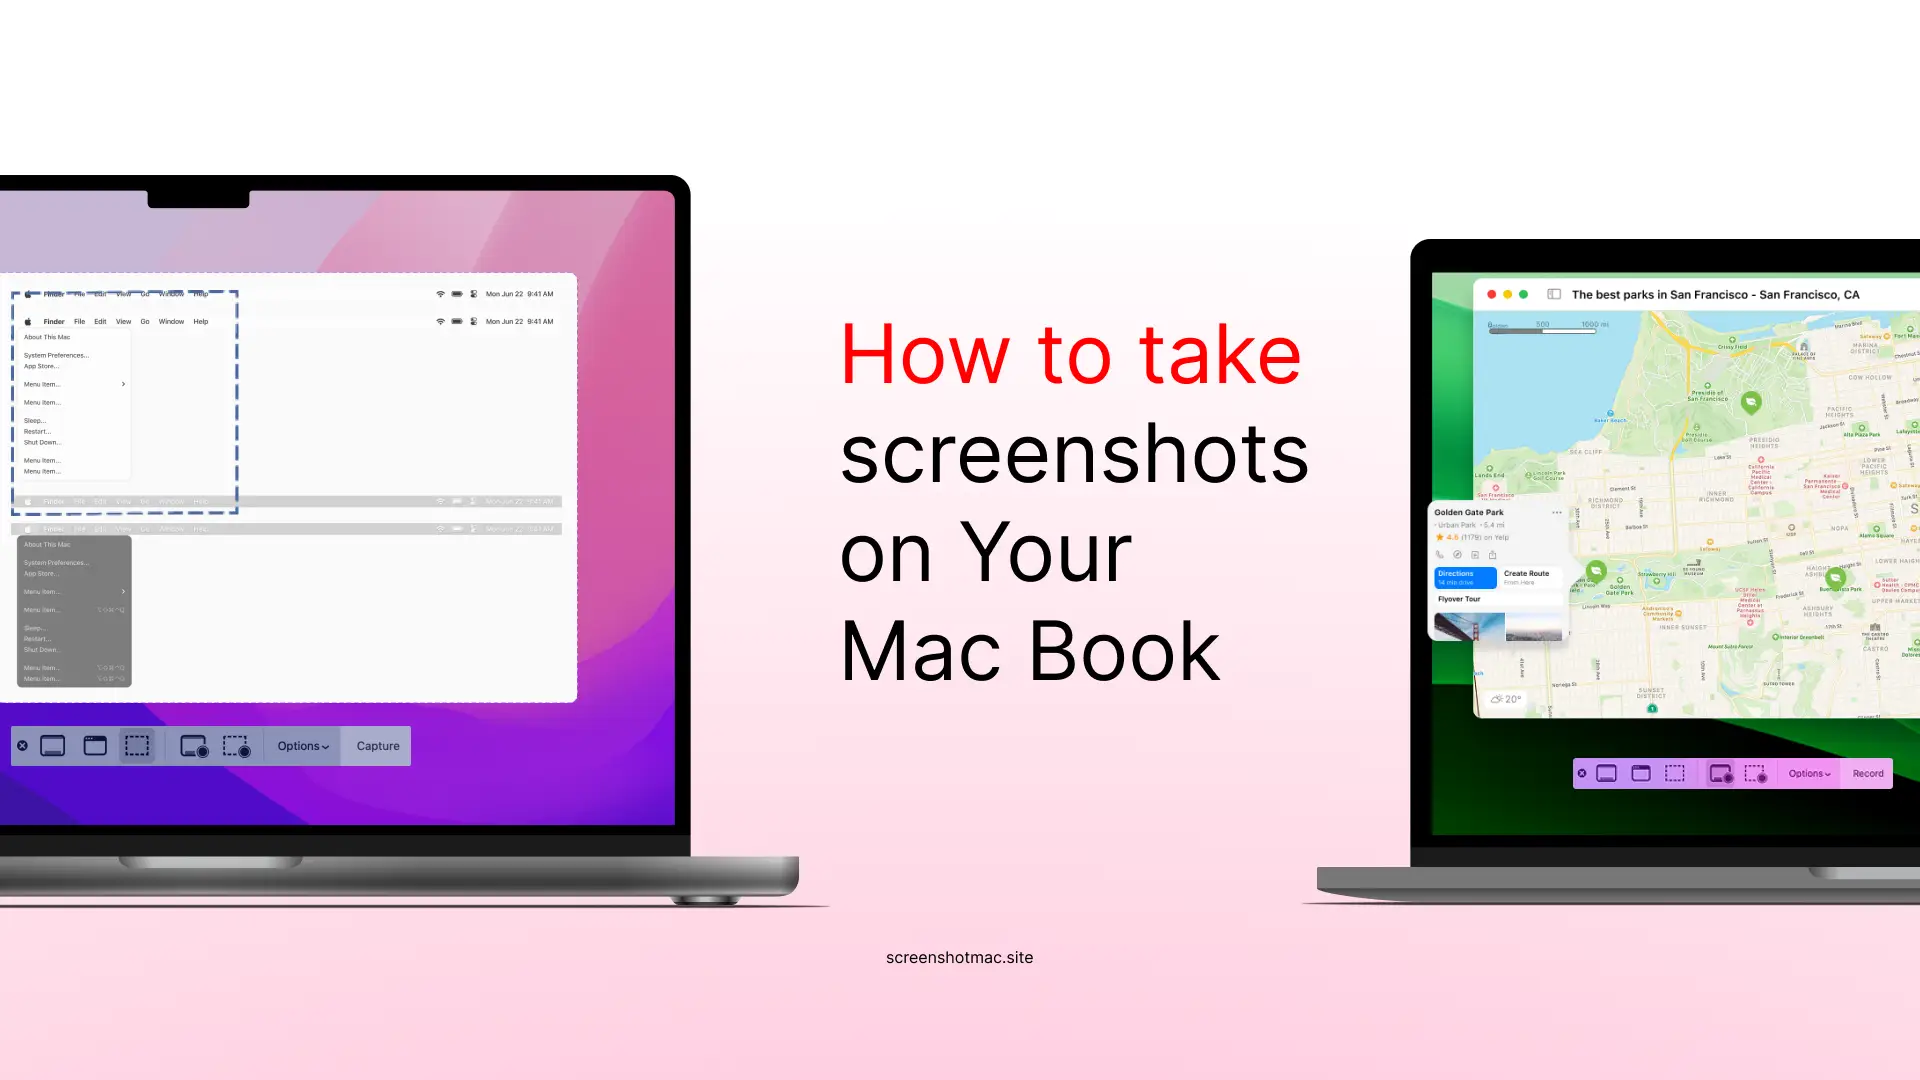
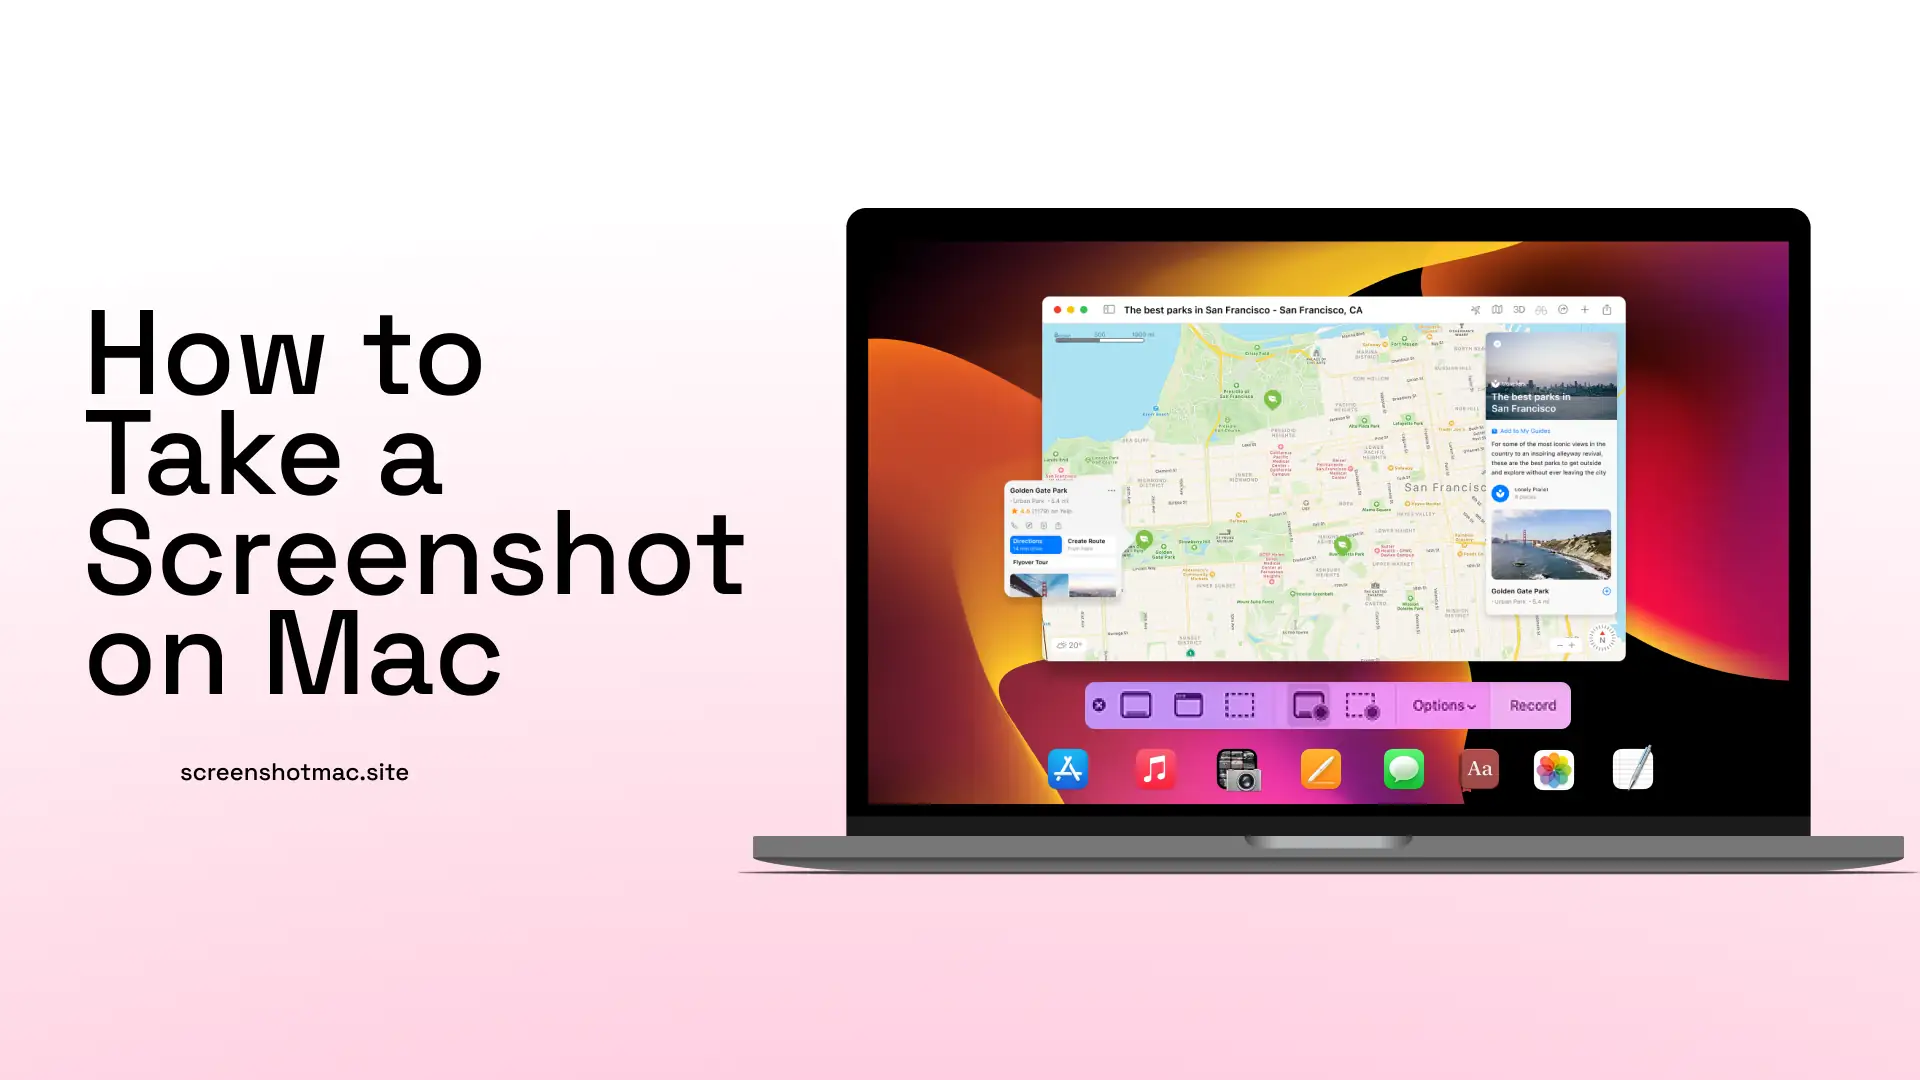
If you’ve ever wondered how to take a screenshot on a MacBook Air to capture your computer’s screen, you’re in the right place. In this complete guide, you’ll discover all the methods to capture the screen on your MacBook Air, whether you own an M1, M2, or an earlier model. You’ll learn how to use keyboard shortcuts, the MacBook Air Screenshot toolbar, third-party apps, and alternative methods, as well as understand where the files are saved and how to edit them quickly and easily.
Why It’s Important to Know How to Take a Screenshot on Mac Airbook
Main Methods to Take Screenshot on Mac Airbook
In this section, we’ll explore all the available methods to take a screenshot on MacBook Air, with clear steps optimized for every need—whether capturing your computer’s entire screen, a specific window, or a menu.

The fastest way to take a screenshot on a MacBook Air is by pressing Shift + Command (⌘) + 3, which instantly captures everything displayed on your screen and saves the image automatically to the Desktop folder. This method works seamlessly from any open window, menu, or application, making it a simple and convenient option for every user.
Whether you need screenshots for work, study, tutorials, guides, or personal projects, this method provides a reliable and efficient way to capture your MacBook Air screen with minimal effort.
Method 2: Take a Partial Screenshot or Select an Area

If you want to capture only a specific portion of your screen on a MacBook Air, you can use the keyboard shortcut Shift + Command (⌘) + 4. After pressing these keys, the cursor will change into a crosshair, giving you precise control over the area you want to capture. Click and drag the crosshair to select the exact portion of the screen, then release the mouse or trackpad to take the screenshot. The selected area will be captured and automatically saved as a PNG file on your Desktop, allowing you to quickly access, edit, or share the image. This method is ideal for capturing only the relevant parts of a window, menu, or section of an application without including unnecessary screen elements.
Method 3: Capture a Specific Window
If you want to capture only a specific application window on your MacBook Air, macOS makes it simple and precise. First, press the screenshot keyboard shortcut Shift + Command (⌘) + 4, then press the spacebar. This changes the cursor into a small camera icon, allowing you to target a single window without including the rest of the screen. Move the camera over the window you want to capture, then click to take the screenshot. The image will be automatically saved as a PNG file on your Desktop, ready for editing, sharing, or organizing. This method is perfect for creating clean, professional screenshots of apps, dialogs, or menus without any extra screen clutter.
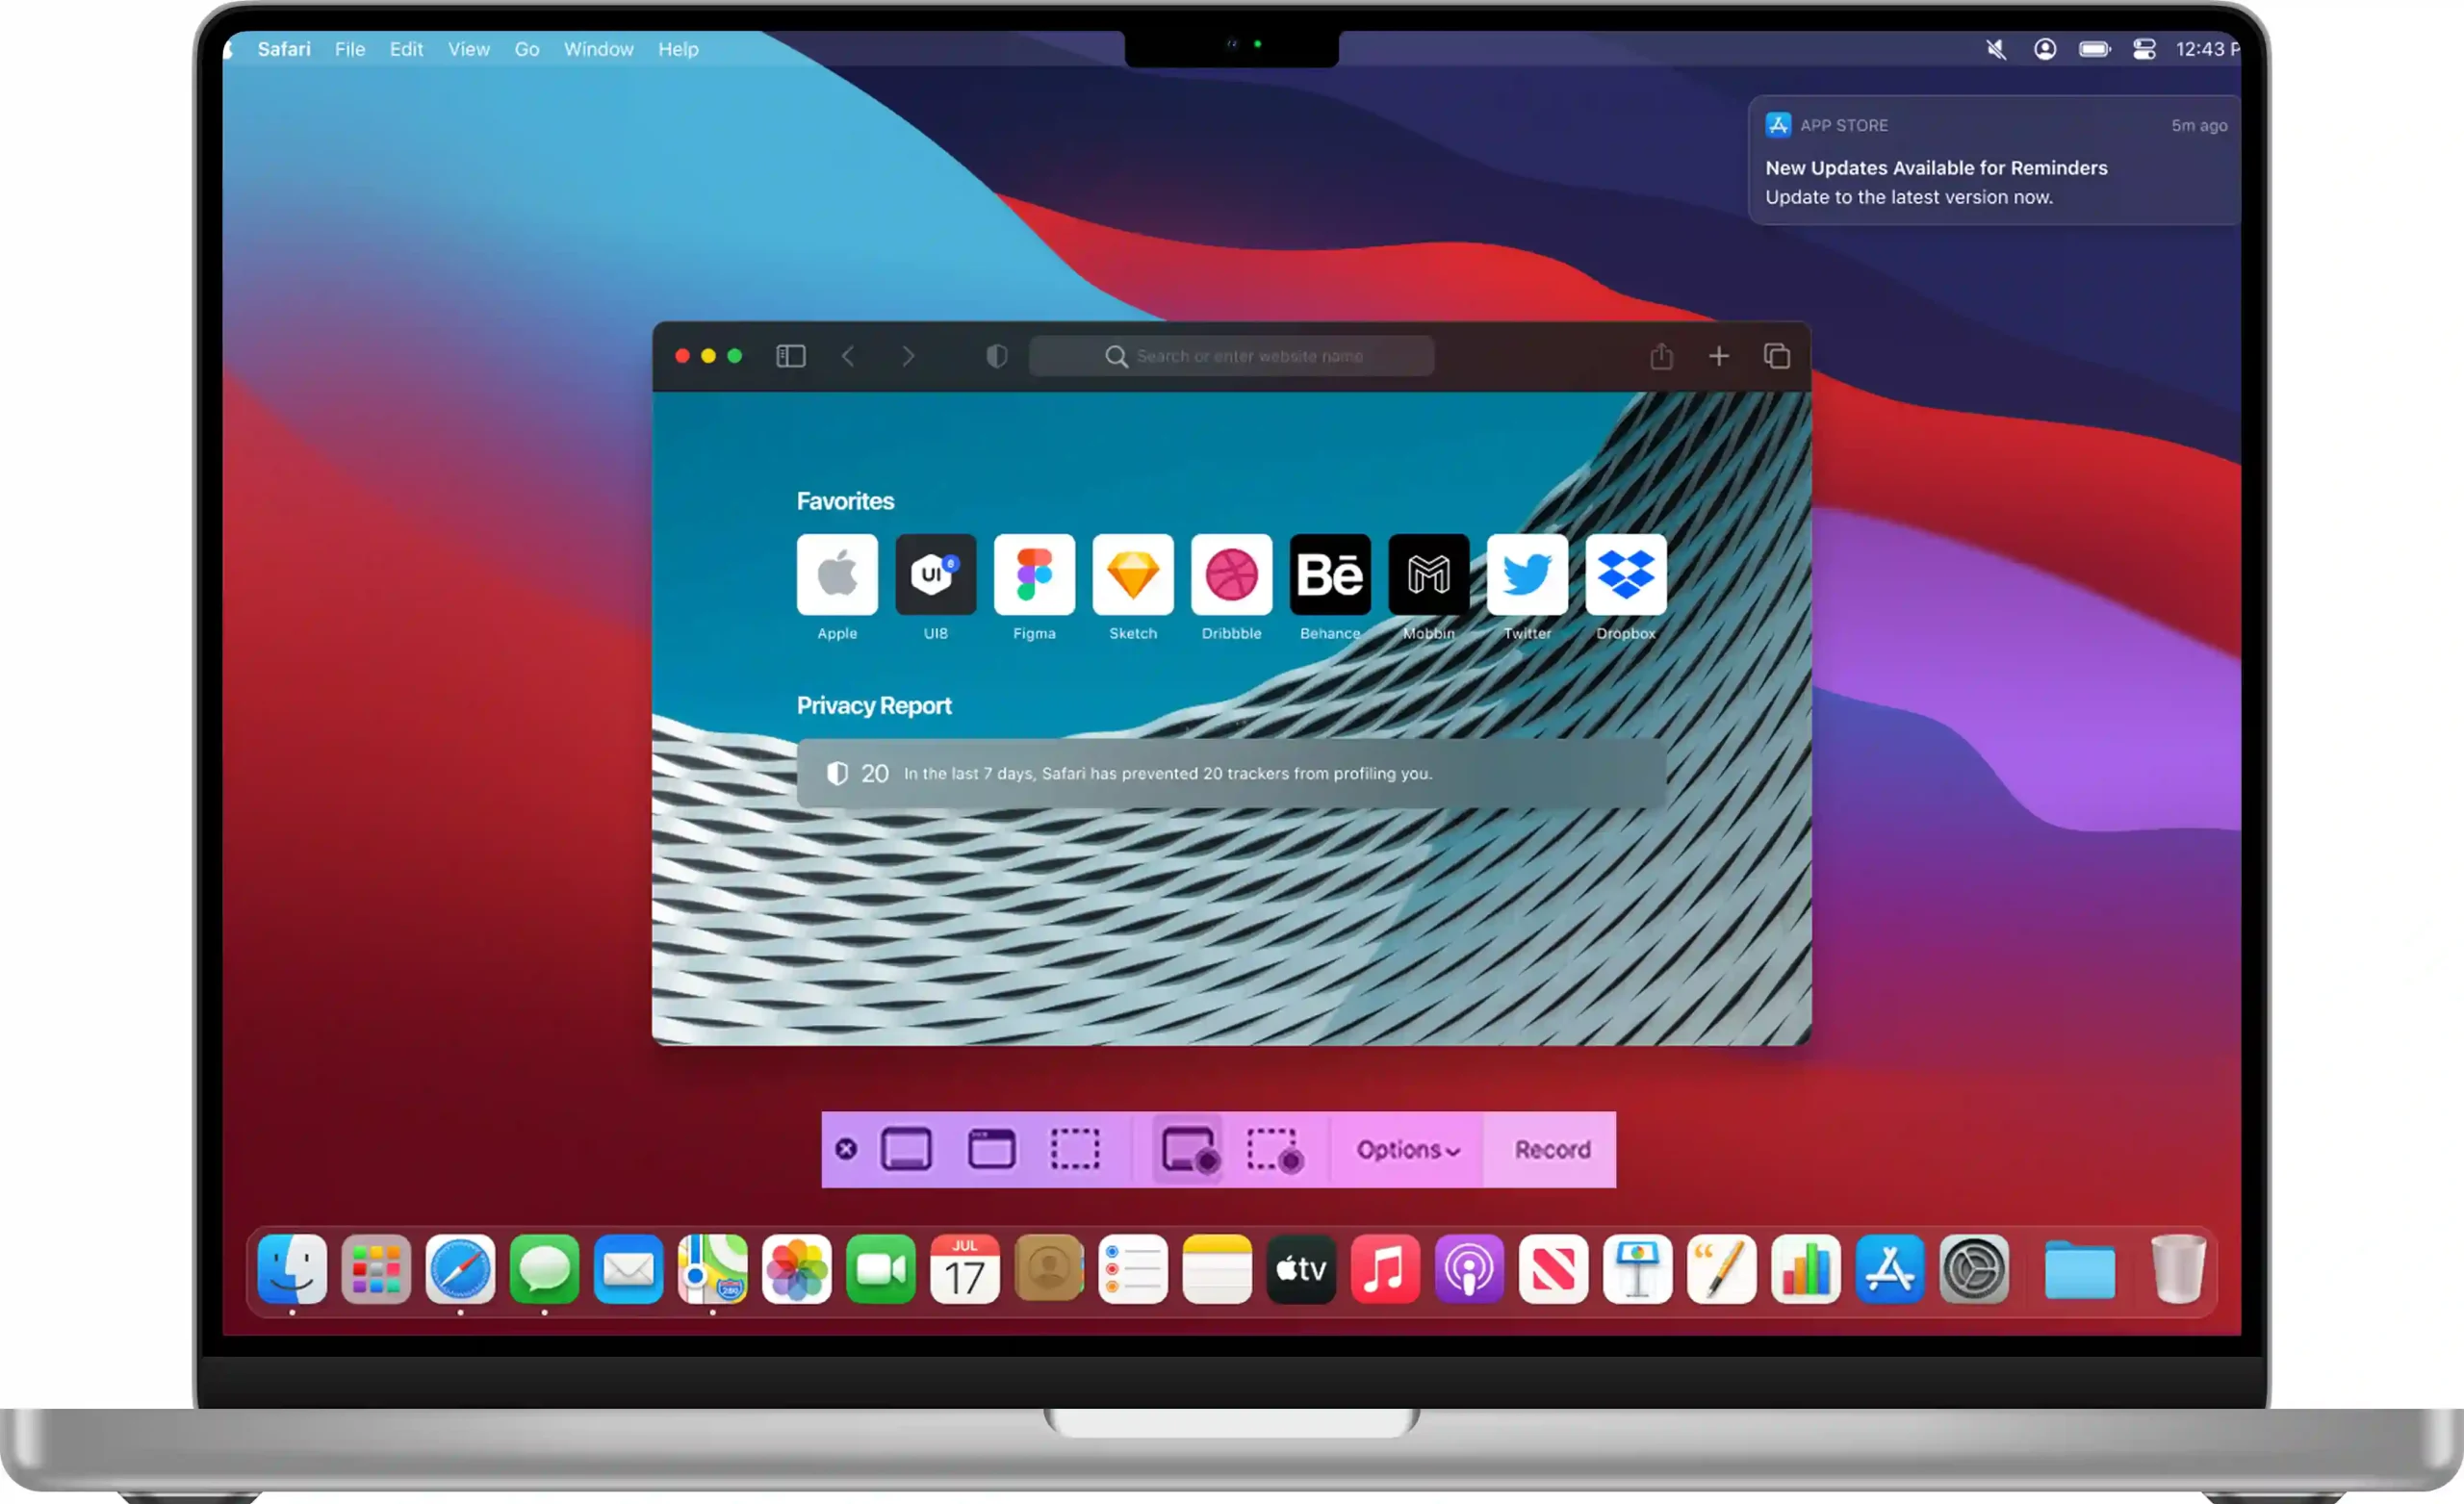
Method 4: Use the macOS Screenshot Toolbar

Method 5: Take a Screenshot Without Using the Keys
If the screenshot keyboard shortcuts on your MacBook Air are not working, you can use the Screenshot app instead. Open it by going to Applications > Utilities > Screenshot, where you’ll find tools to capture full screens, selected areas, or specific windows. Alternatively, macOS supports Siri voice commands—just activate Siri and say, “Take a screenshot.” Your MacBook Air will capture the screen automatically, providing a quick, hands-free way to save images without using the keyboard. This ensures that you can always take screenshots, even if the keys are unresponsive or inaccessible.
Where Are Screenshots Saved on MacBook Air
By default, macOS saves all screenshots to the Desktop in PNG format, which ensures high-quality images that are easy to view and access. However, you can easily change where your screenshots are stored to better organize your files. Press Shift + Command (⌘) + 5 to open the Screenshot toolbar, then click Options and select the folder where you want the images saved. You can choose from locations such as Documents, Desktop, or iCloud Drive, allowing you to quickly access, edit, or share screenshots according to your workflow. This feature is especially useful for keeping your Desktop uncluttered or for syncing screenshots across multiple devices via iCloud.
Copy a Screenshot to the Clipboard on Mac Air
After taking a screenshot on a MacBook Air, a small thumbnail appears in the bottom-right corner of your screen. Clicking the thumbnail opens the screenshot in the Preview window or menu, where you can make various edits. You can crop the image to focus on specific areas, add text for annotations, highlight sections, or even sign documents directly. Once editing is complete, save the updated version in the same folder or rename the file to stay organized. This feature makes reviewing, editing, and sharing screenshots fast, convenient, and efficient for work, study, or personal projects.
Change Screenshot Format on Mac Air (PNG, JPG, PDF)
By default, macOS saves screenshots in PNG, but you can change the format using the Terminal for advanced commands. For example, to save screenshots as JPG, enter:
defaults write com.apple.screencapture type jpg
killall SystemUIServer
You can also choose PDF, TIFF, or HEIC. Screenshots and screen recordings can then be easily managed in the chosen format.
Rename and Organize Screenshot on MacBook Air
Screenshots are saved with names like “Screenshot 2025-09-23 at 10.45.32”. You can rename them manually in Finder, use Automator to create automatic renaming rules, or organize them into folders on iCloud to sync them across your Apple devices.
Using Third-Party Apps for Screenshot on Mac Airbook
Differences Between Screenshots on Mac Airbook and MacBook Pro
Common Screenshot Issues on Mac Air (and Solutions)
Real-World Examples of Using Screenshot on Mac Airbook
Students can save slides from online lessons for future reference and study. Professionals can send project screenshots to colleagues for collaboration and feedback. Content creators can produce guides, tutorials, and articles using images efficiently. Everyday users can archive conversations, receipts, or other important digital documents safely.
| Method | Key Combination | Optimal Result | Save Location |
|---|---|---|---|
| Entire Screen | Shift + Command + 3 | Full screenshot | Desktop |
| Selected Area | Shift + Command + 4 | Selected portion | Desktop |
| Active Window | Shift + Command + 4 + Space | Only the window | Desktop |
| Screenshot Toolbar | Shift + Command + 5 | More options + recording | Customizable, like the screenshot thumbnail |
| Copy to Clipboard | Shift + Command + Control + 3/4 | No file, just copy | Clipboard for preview |
FAQ on Screenshot Mac Airbook
How to take a screenshot on MacBook Air without keys?
Open the Screenshot app from Applications > Utilities on your Mac, or simply use Siri by saying “Take a screenshot” to capture your screen instantly.
Where are screenshots saved on Mac Air?
How to change the screenshot format on MacBook Air?
Use the Terminal with the command to take screenshots via key combinations:
defaults write com.apple.screencapture type jpg
This changes the format from PNG to JPG or to other formats, and you can also use Preview and the Screenshot toolbar to manage the screenshots.
How to record the screen on Mac Air?
PWhy aren’t screenshots working on Mac Air?
It could be an issue with Apple’s macOS. Check if the Screenshot app is active. The shortcuts may have been disabled—go to Settings > Keyboard > Shortcuts and re-enable them to use via Launchpad.
Conclusion
Taking a screenshot on a Mac Airbook is simple and fast, thanks to the built-in macOS shortcuts for screen capture. These shortcuts make capturing your screen intuitive and easy, even for beginners using a Mac for the first time. You can edit Mac Airbook screenshots with the integrated toolbar or use third-party apps for advanced editing options. From full or partial screen captures to video recording, MacBook Air offers versatile solutions. You can customize the file format, select the save location, and edit images using Preview. Knowing these screenshot methods helps you work efficiently, share content quickly, and solve issues in seconds.
Our Related Blogs
[How To Take Screenshot on Mac Pro]
[How To Take Screenshot on Macbook]

Leave a Reply